Landscapes As You See Them
Stereoscopic Camera Investigation
During my first year of University, we were set a task titled ‘Objects as we see them’. For this task we had to visually respond to this title, however we liked.
After some deliberation I finally settled on the subject of eyesight. Looking at how we literally see the world, and how our eyes work. This was a topic with a personal connection to me as I have always been blind in my left eye and so I see the world a little differently to most.
This got me fascinated with the idea of what typical eyesight should look like and how it could be replicated with a camera.
In my research I found that there are cameras that are said to capture a scene in a more 3-dimensional plane, composed of two slightly different perspectives, much like how our eyes work. One such cameras is a Russian Sputnik twin lens reflex camera. The two lenses on this camera will simultaneously take a photo which, when combined in certain ways, can produce a 3d effect.
Below we can see some of the possible viewing methods.
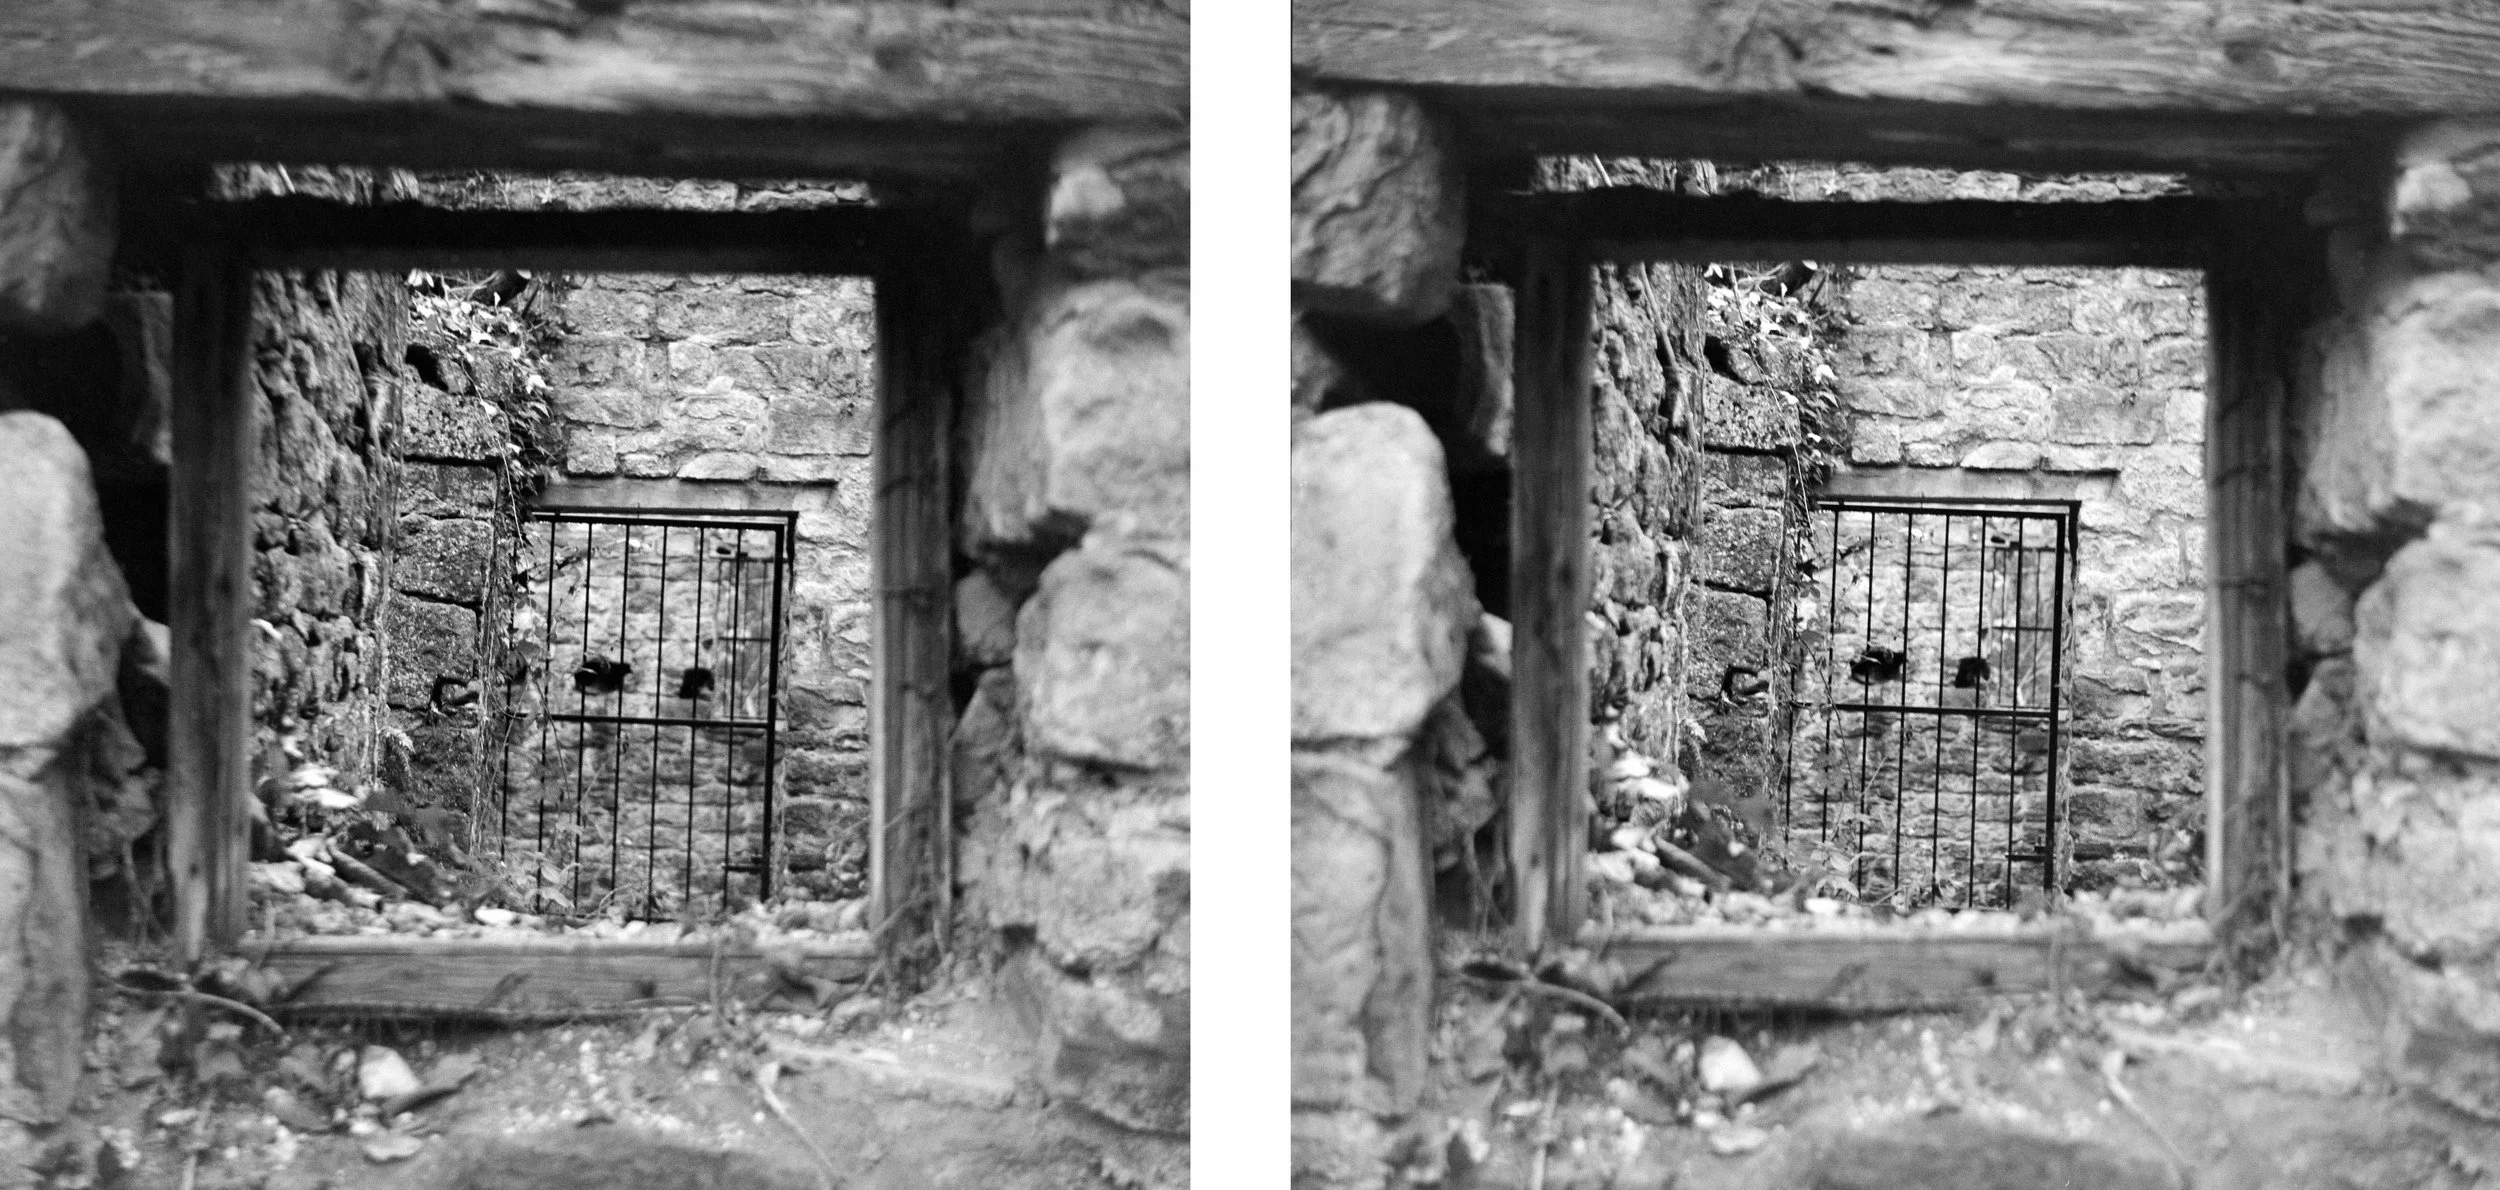
To conduct this investigation, I first sat down with fellow photographer and friend Rob Halliburton. He lent me his sputnik camera and explained how to best utilise it. He told me that when looking for a subject you not only had to consider the usual rule of thirds, but that since the image would be 3d you needed to have clear variation/depth to each scene and so it would be best to think about composing on a 3D plane, 3rds on 3rds. If normal composition is on a square, think of this like a cube. You must have a clear foreground, mid ground and background to make the most of the 3d effect.
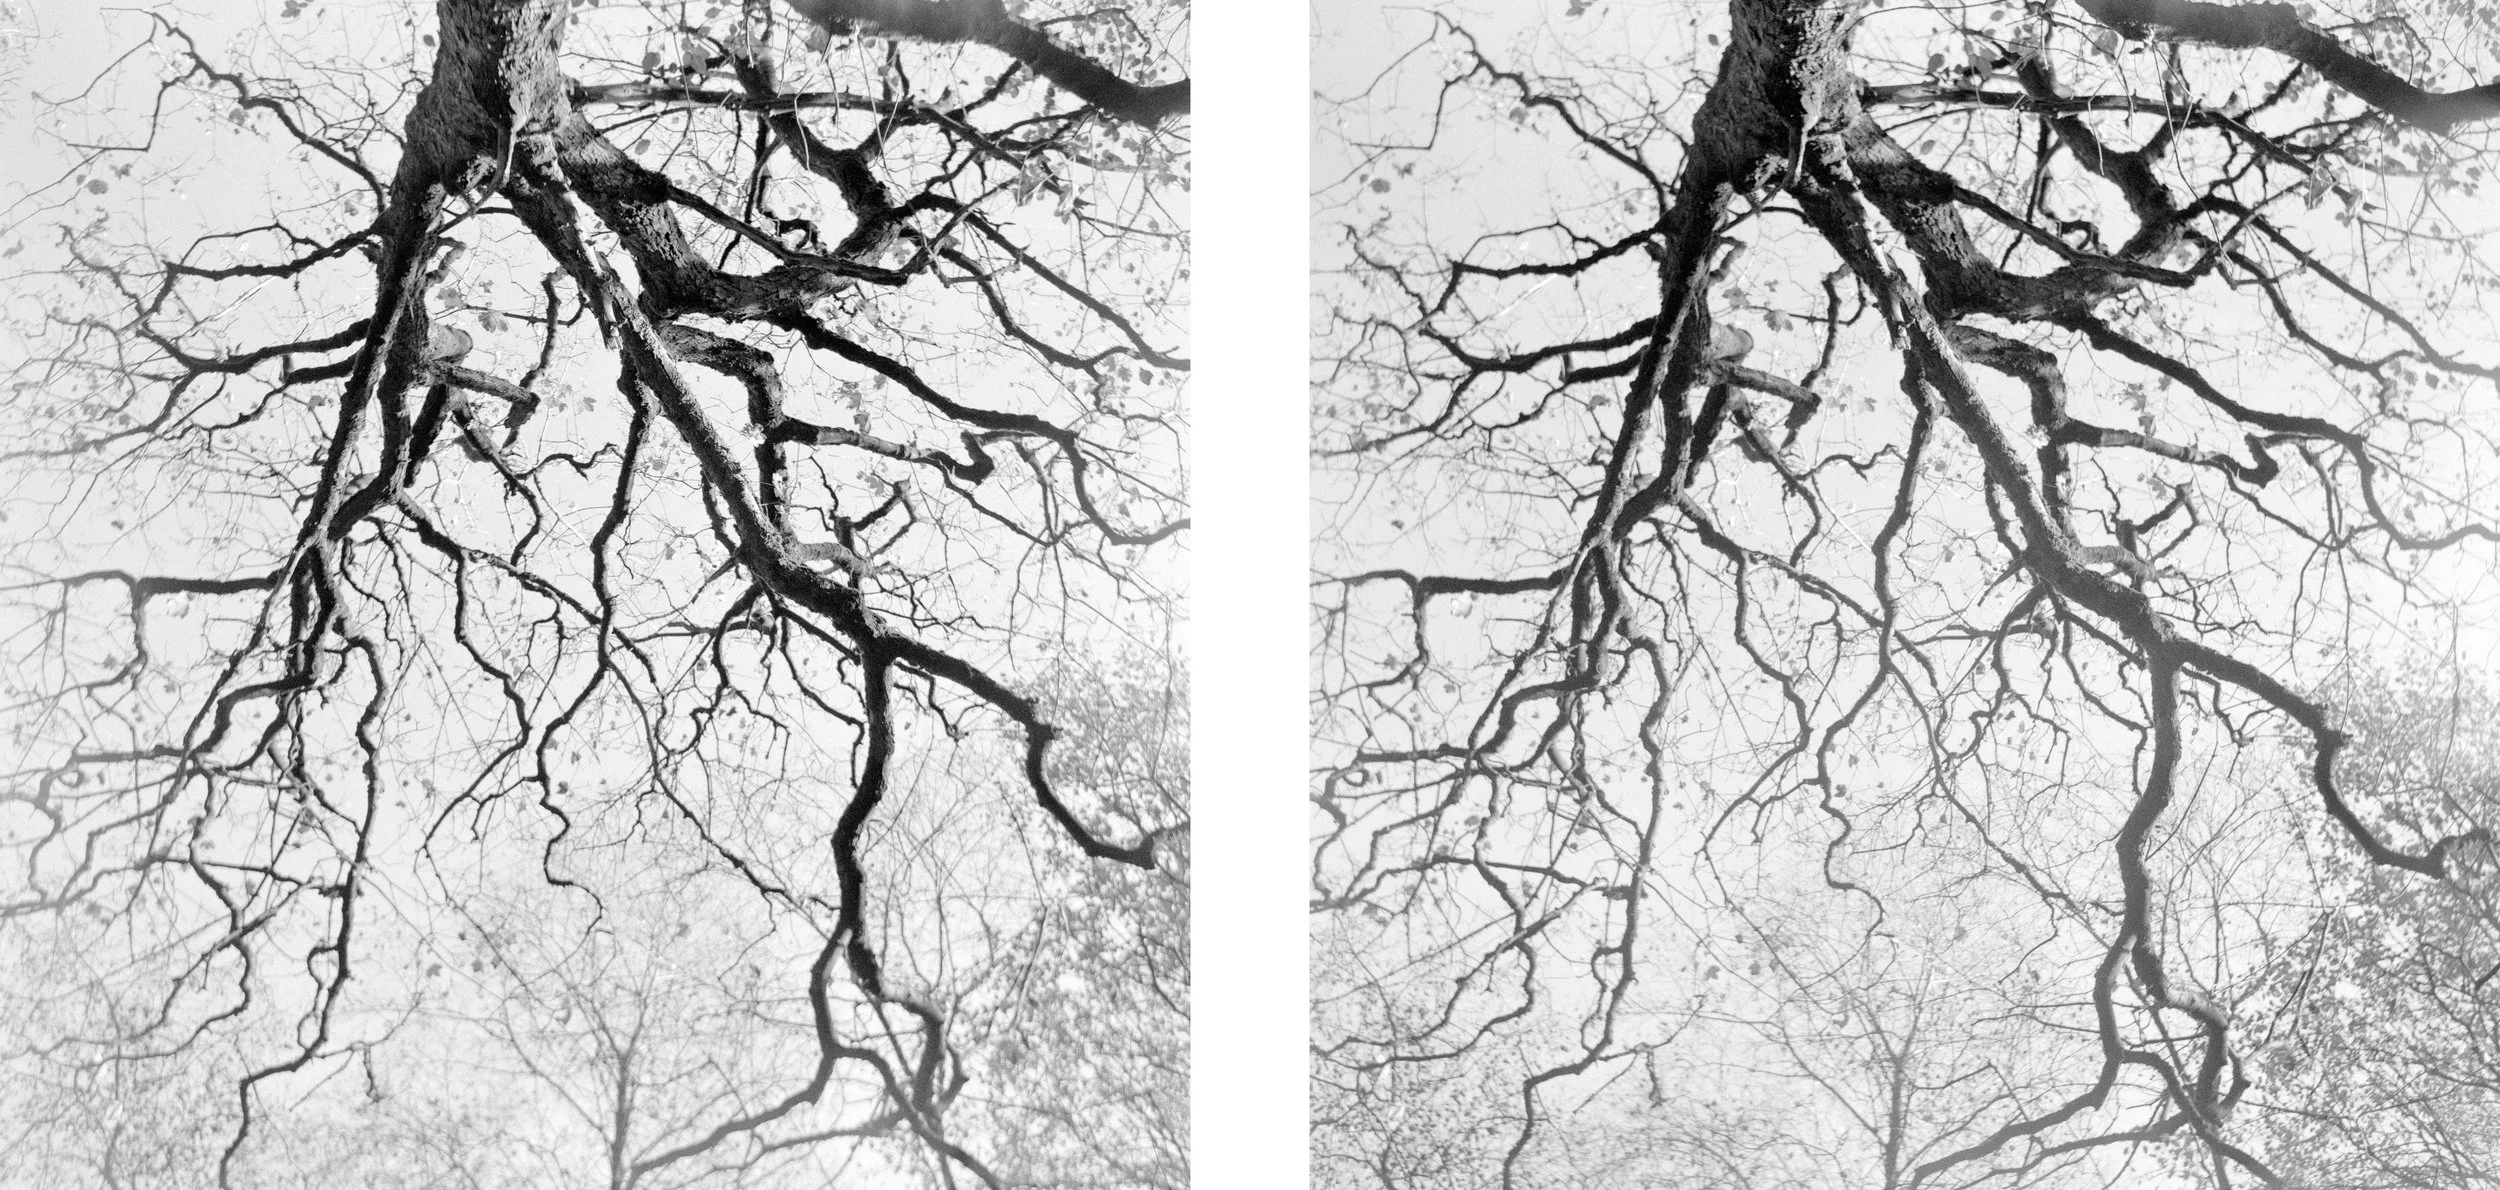
Outcome: 1
To view the effect, stare at the white space in the middle and then cross your eyes until a third image appears in focus in the middle.
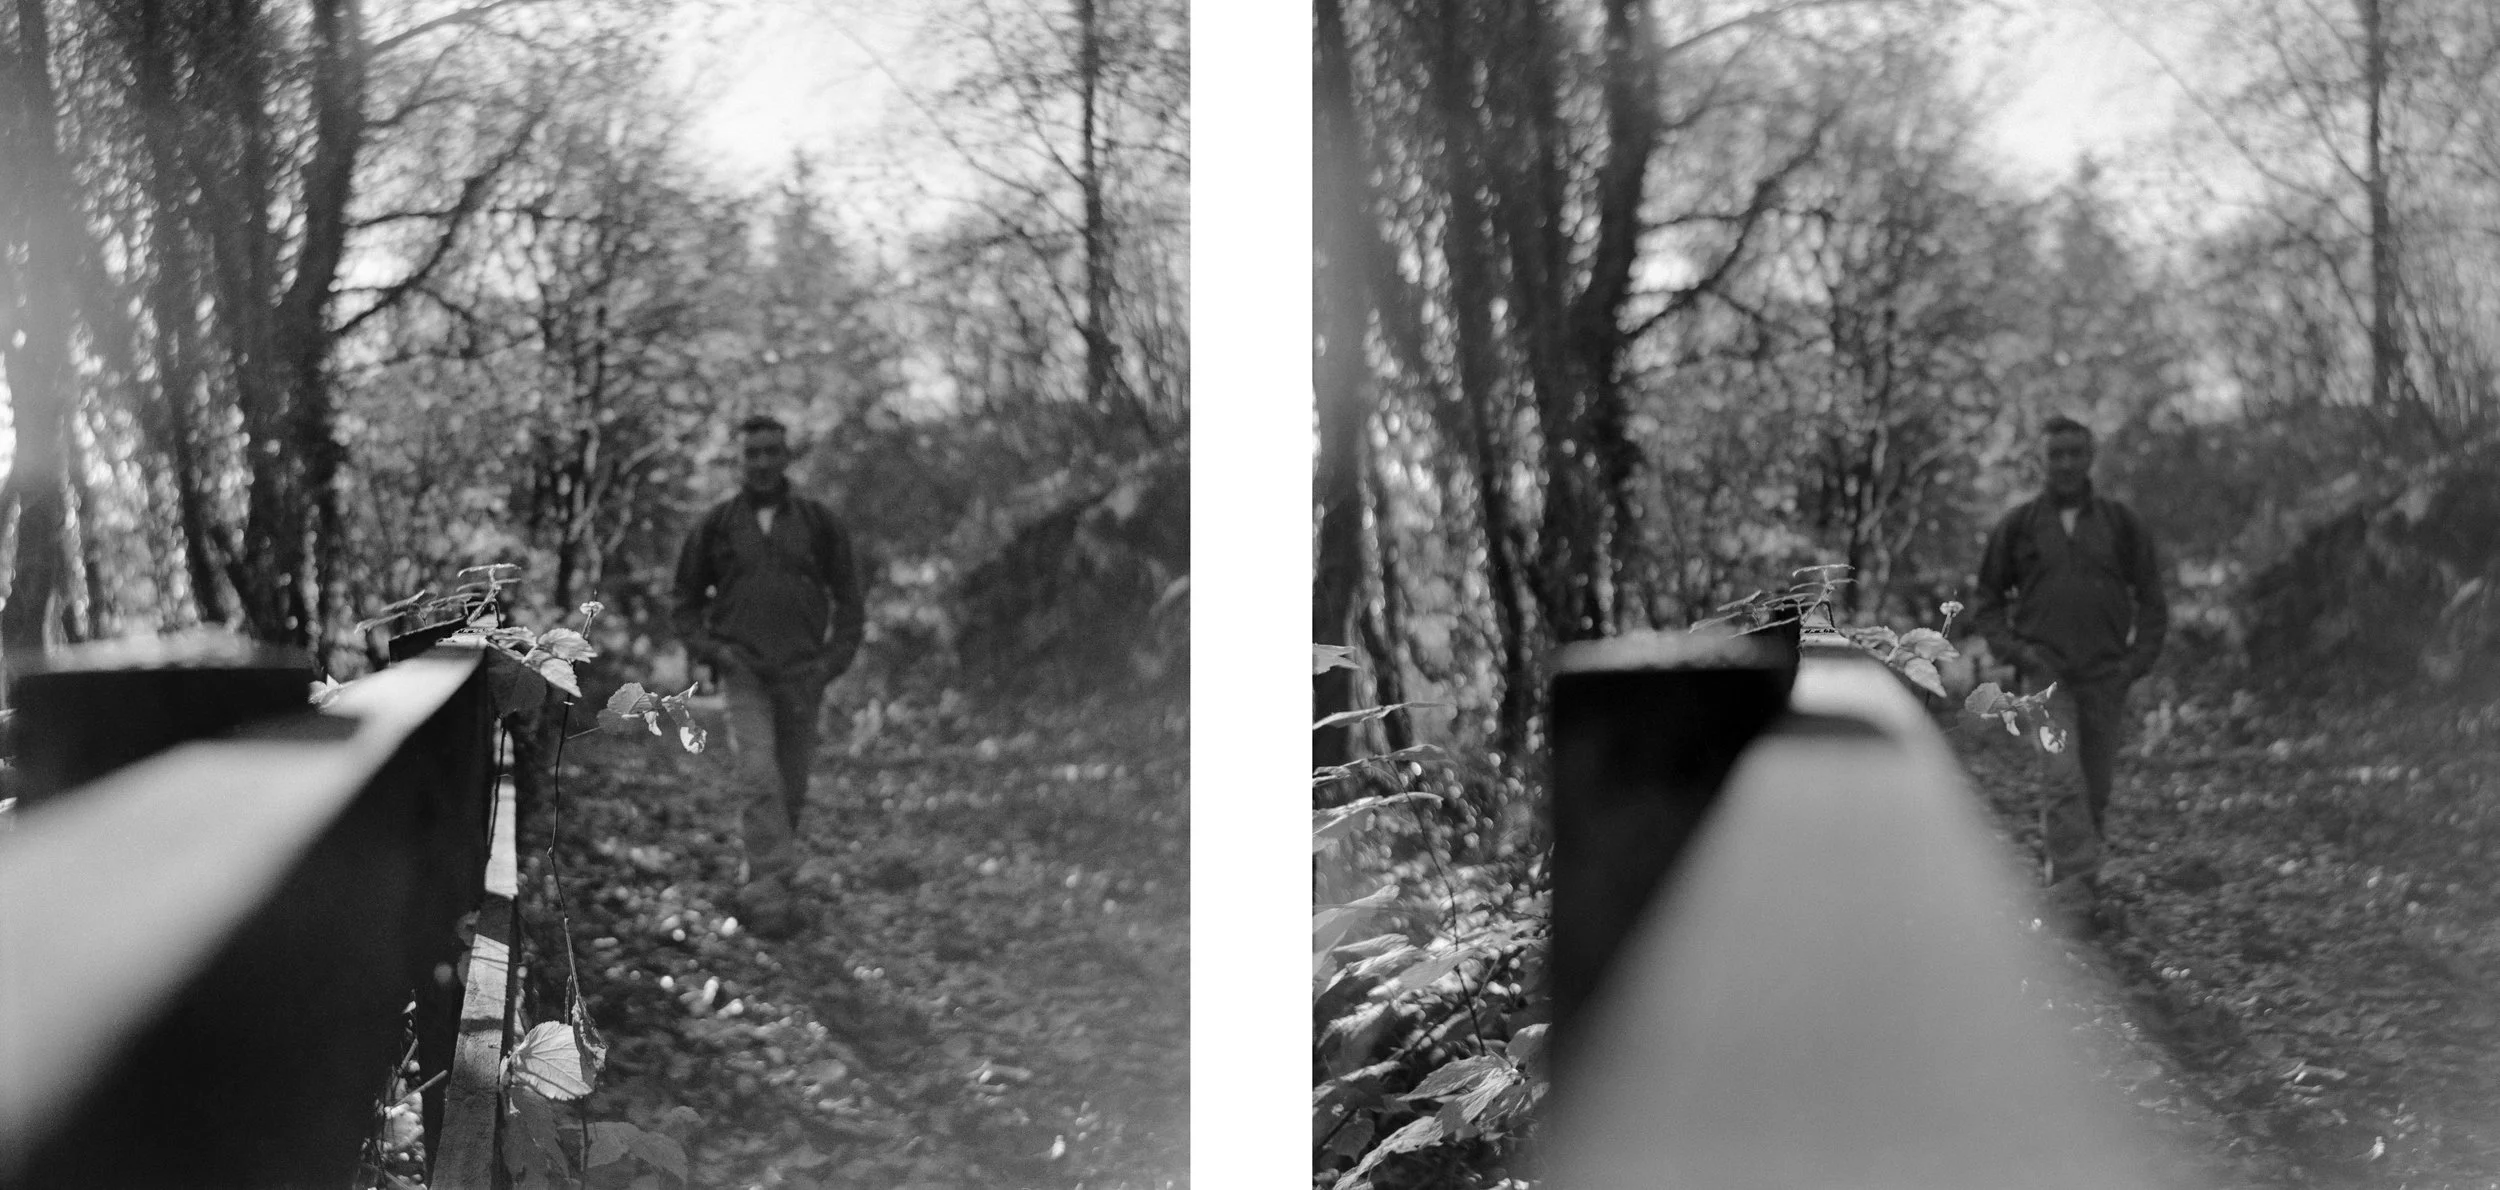
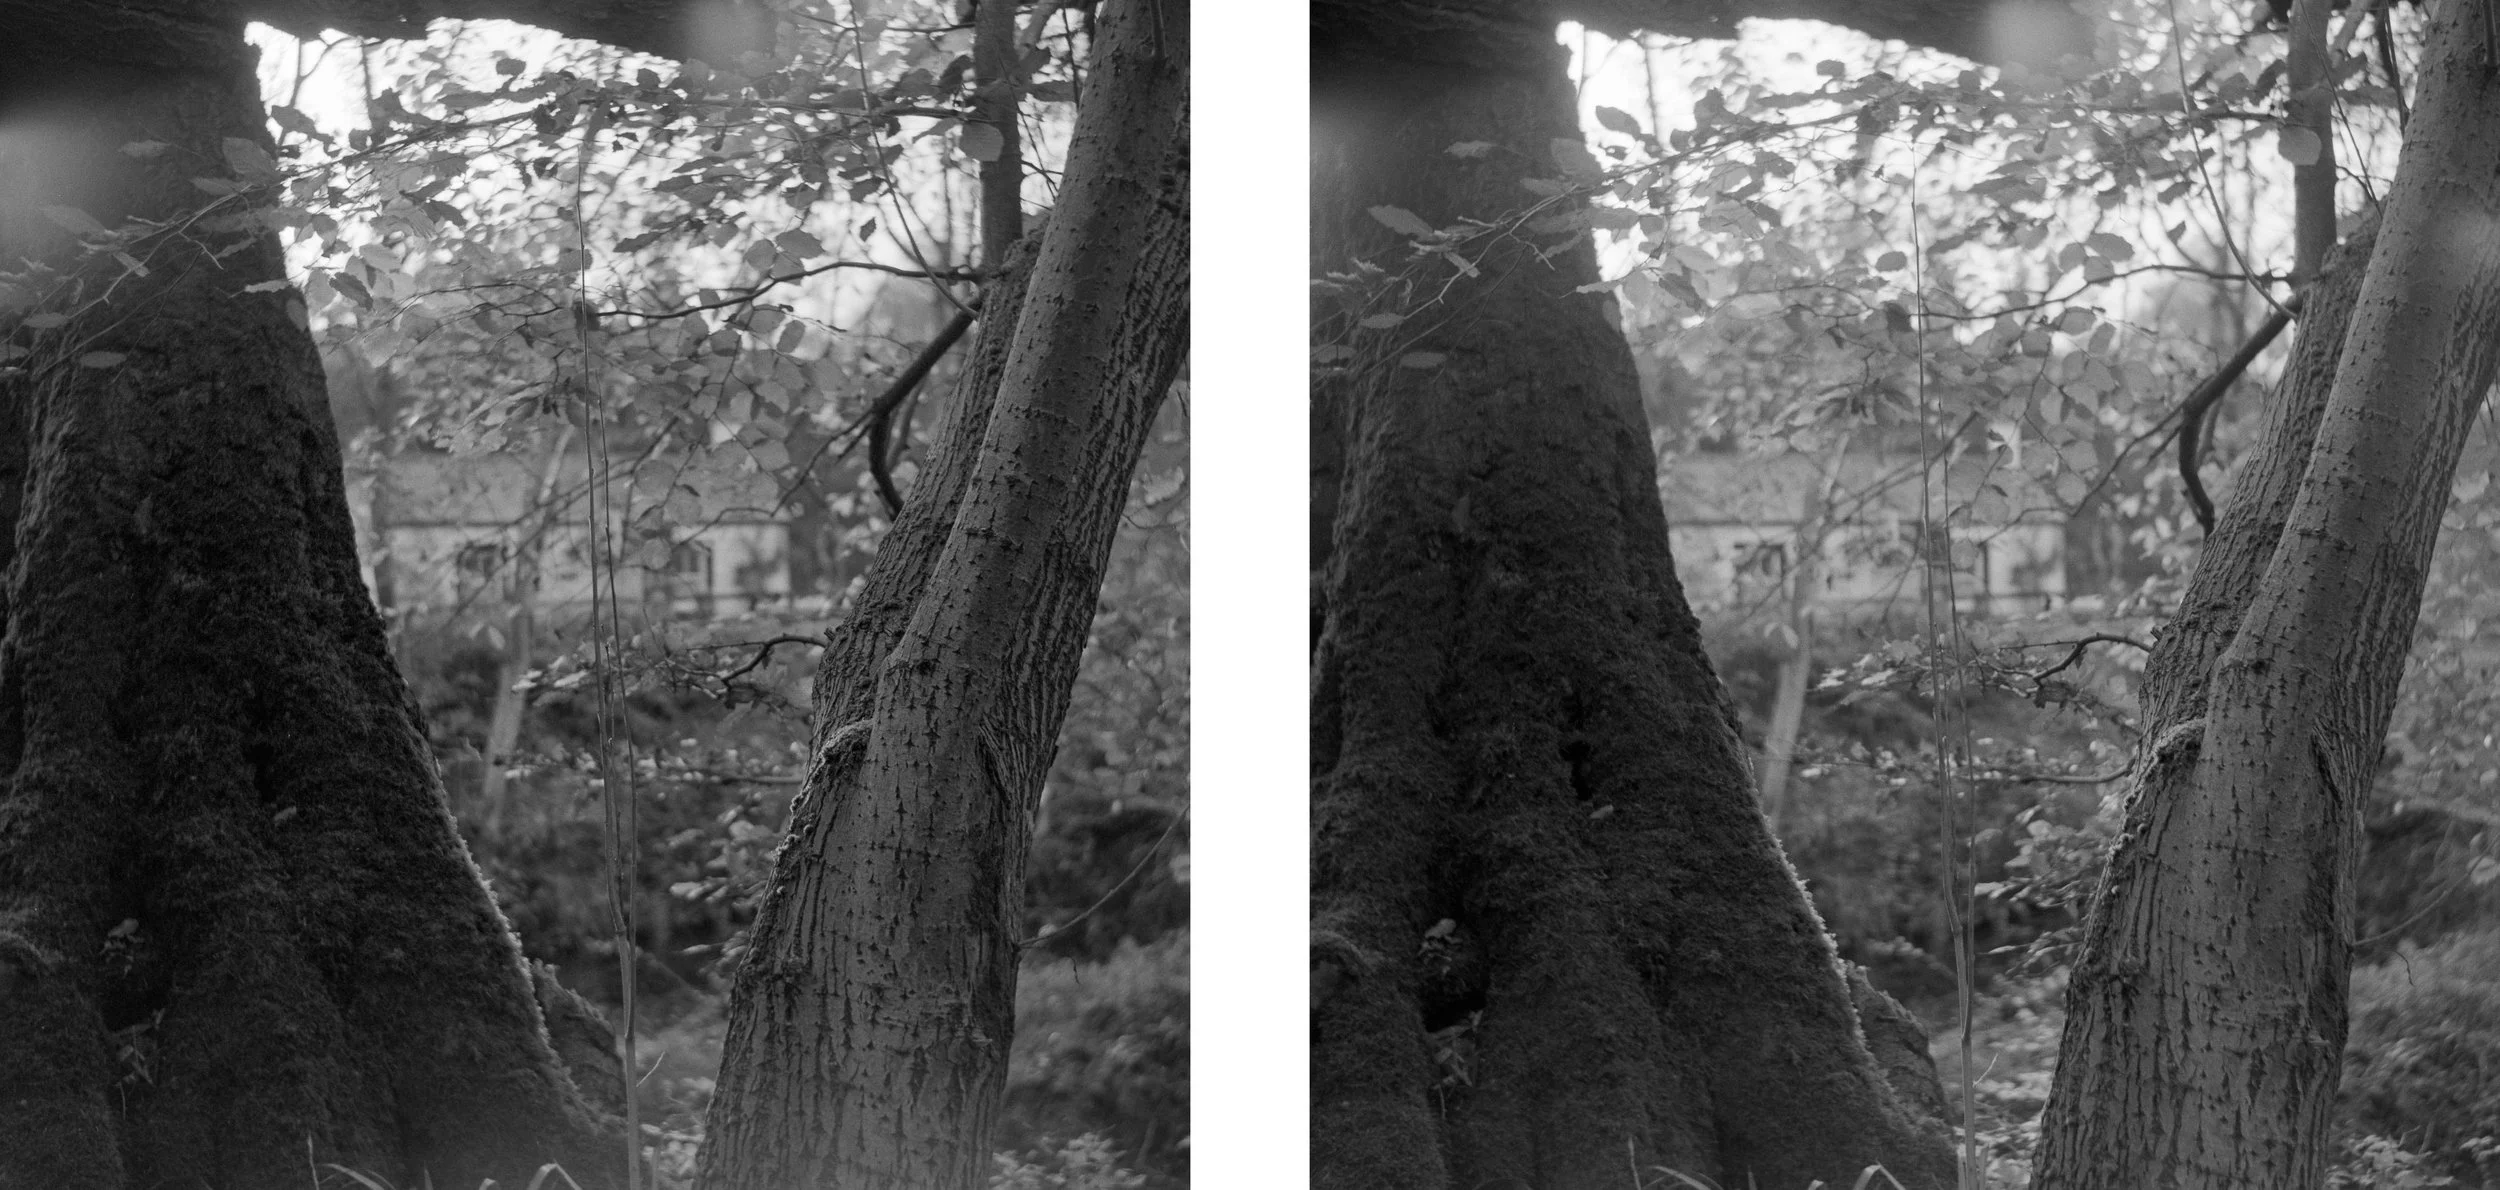
Outcome: 2
Anaglyphs
There are several ways in which to create these, the easiest of which would be to use some stereo image editing software that would create the images for you however I wanted to try making them myself first as the software didn’t run natively on Mac. This proved more difficult than expected, as I have no real way to know if the images are working or if they are aligned properly as you need to use the red and blue glasses to do so. As mentioned previously I am half blind, so these glasses don’t work for me. I had to convert the left images colour channels to red and the right photo to blue and green. Next, I lined up a single point on the photos when placed on top of each other leaving the rest offset slightly, this is what creates the 3d effect. Since I couldn't do this by eye myself, I had someone else check it for me, I also tried photoshop alignment layer tool and was told both seem to work similarly.
3D glasses on now!
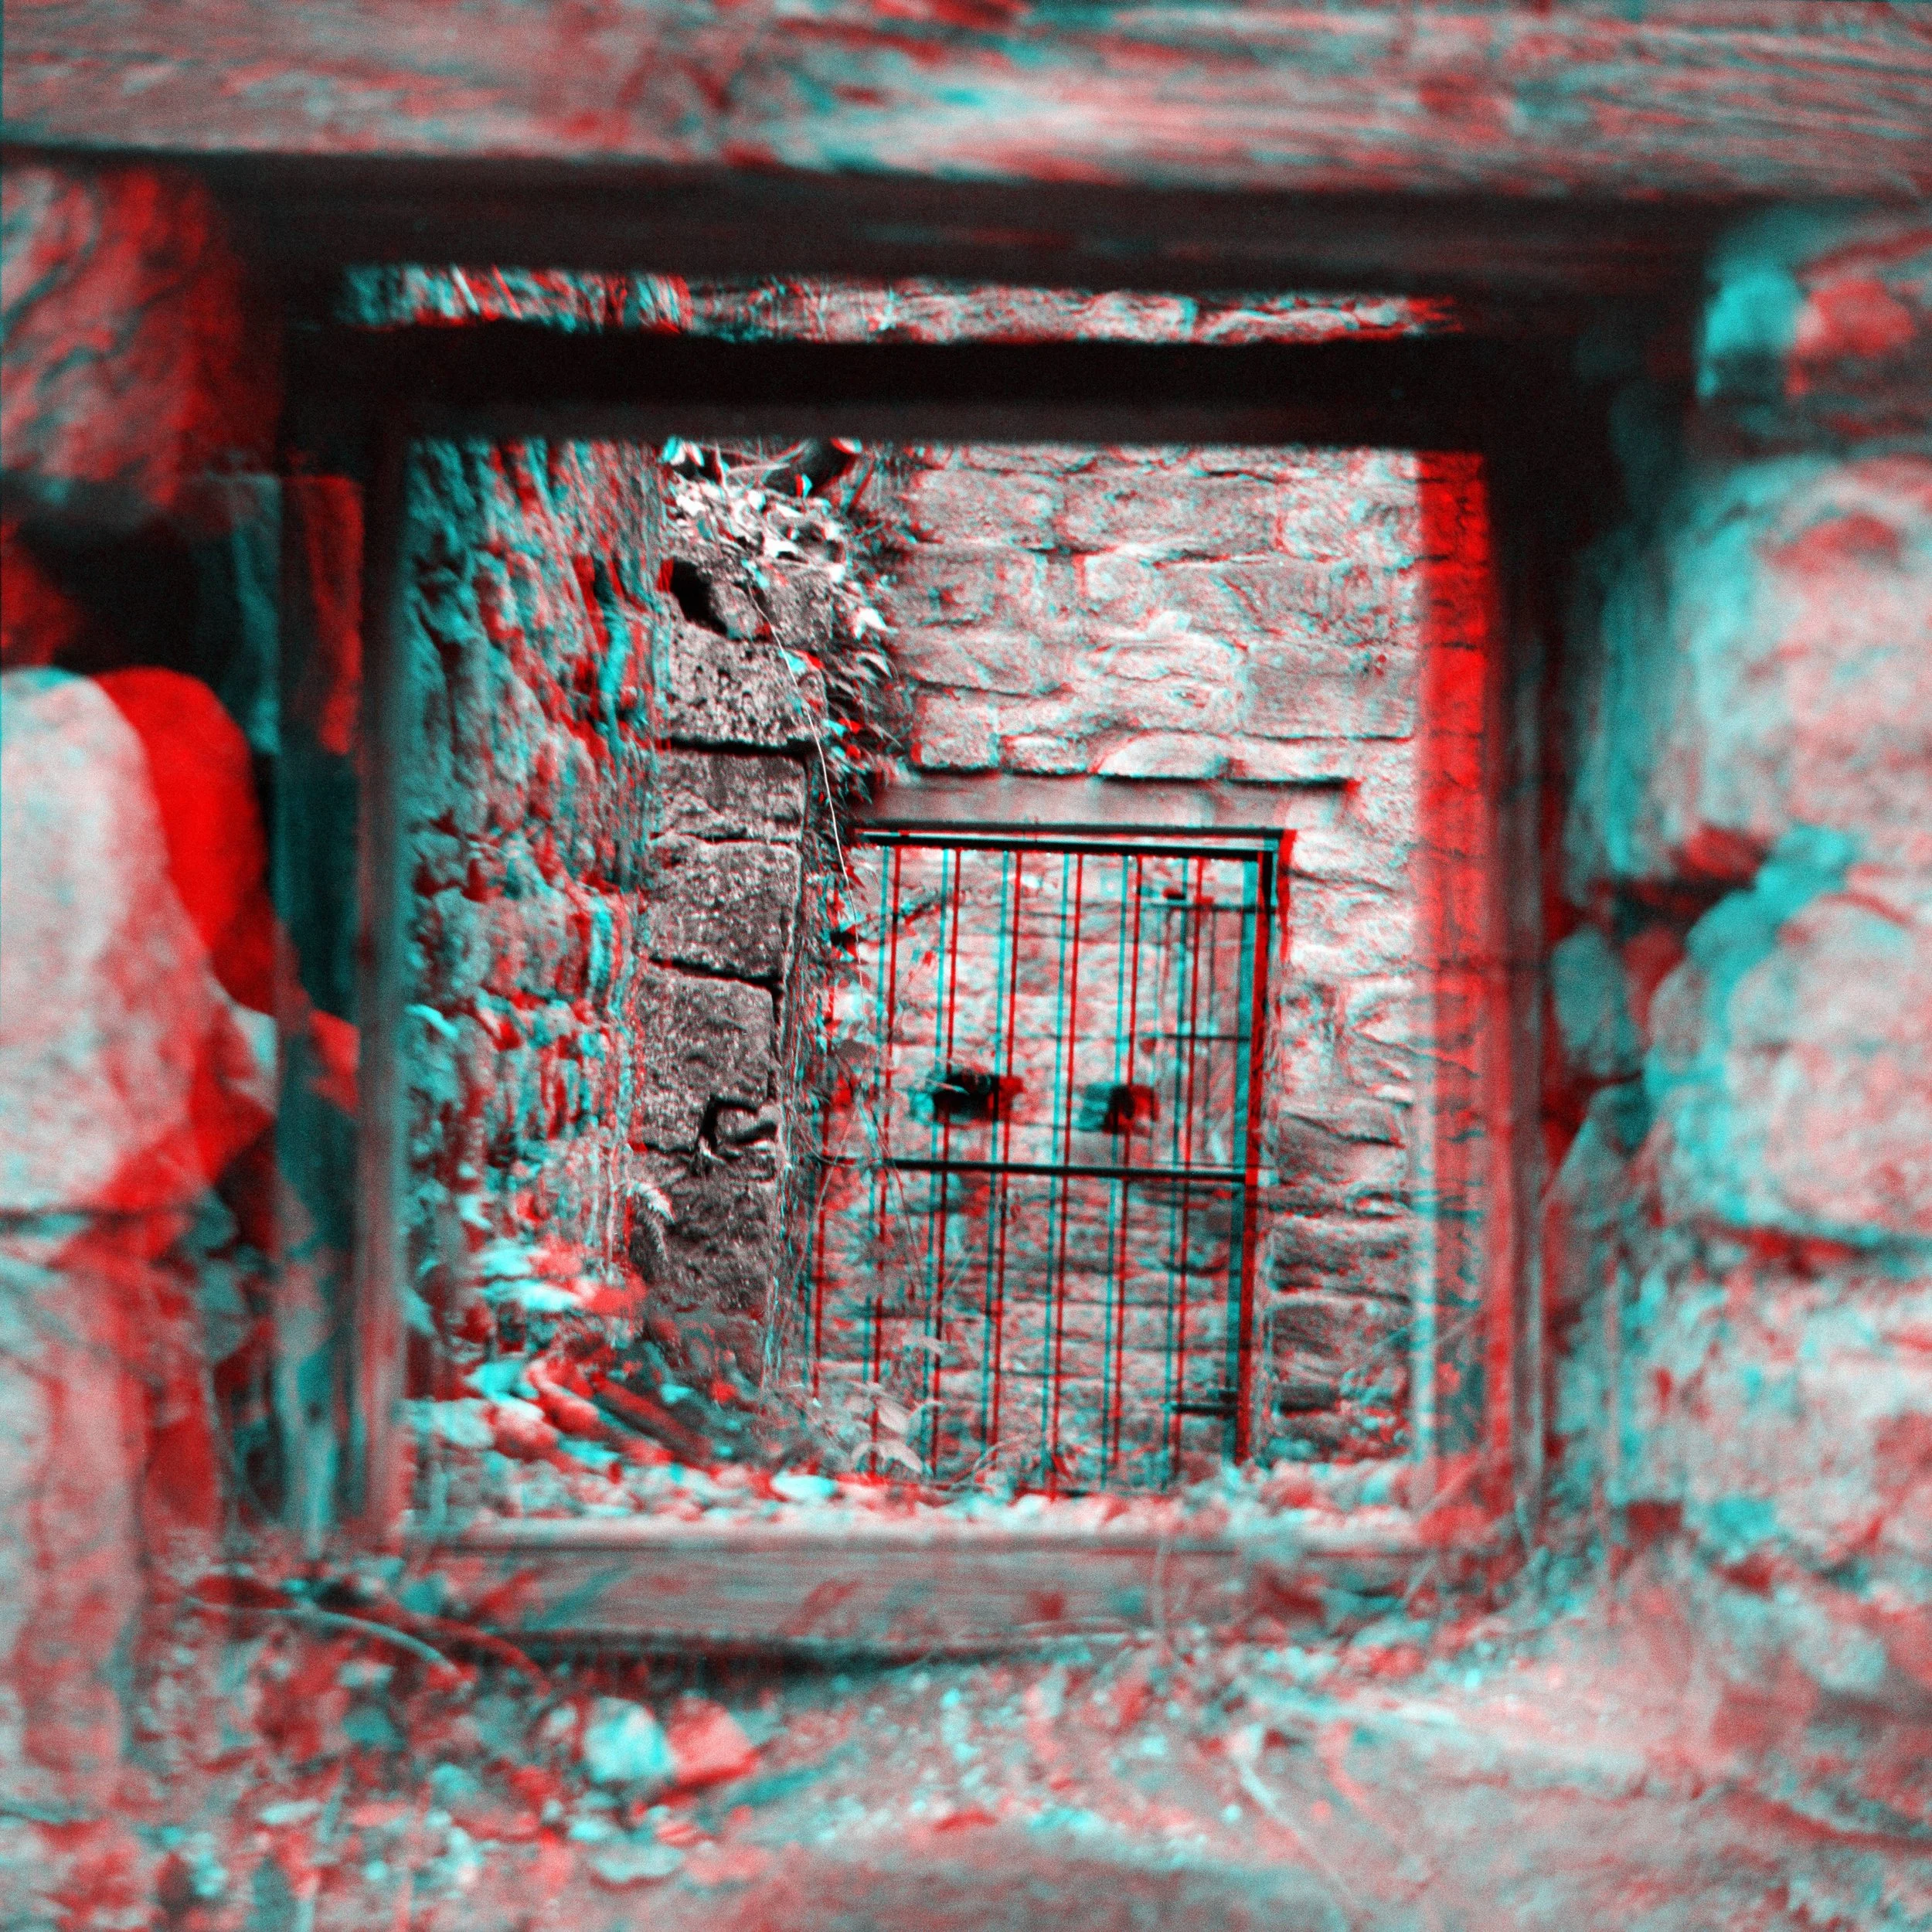
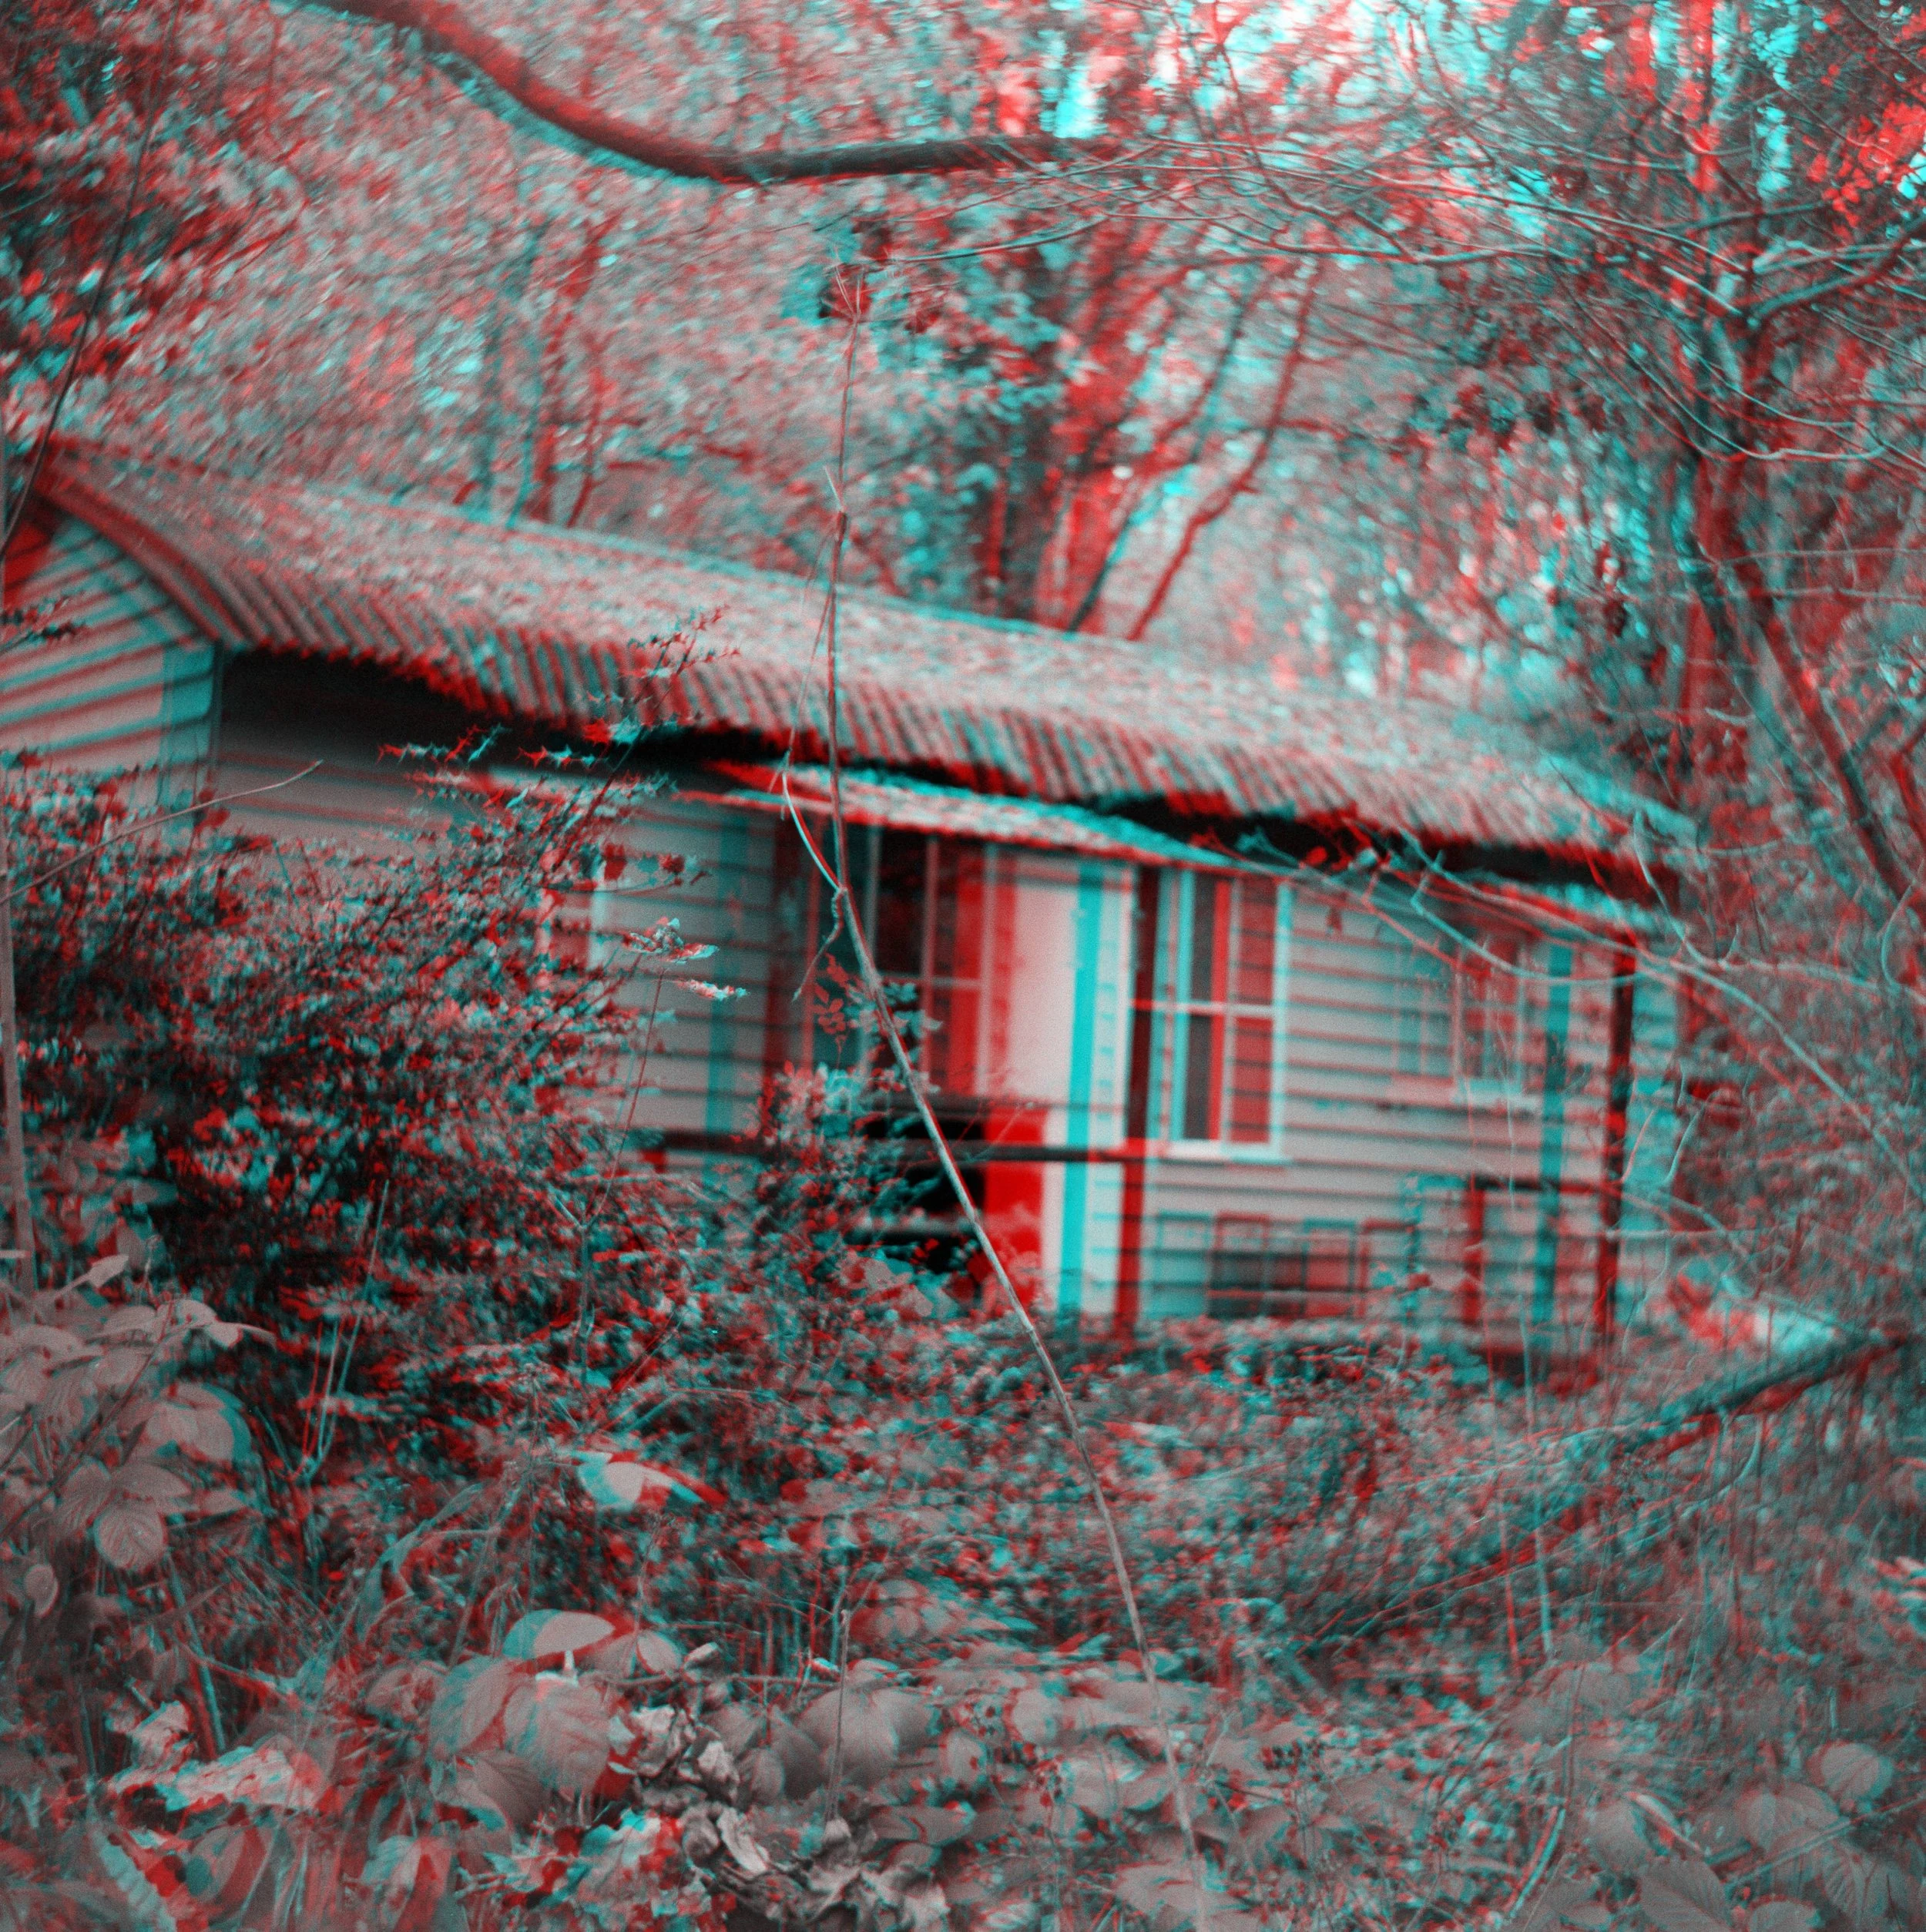

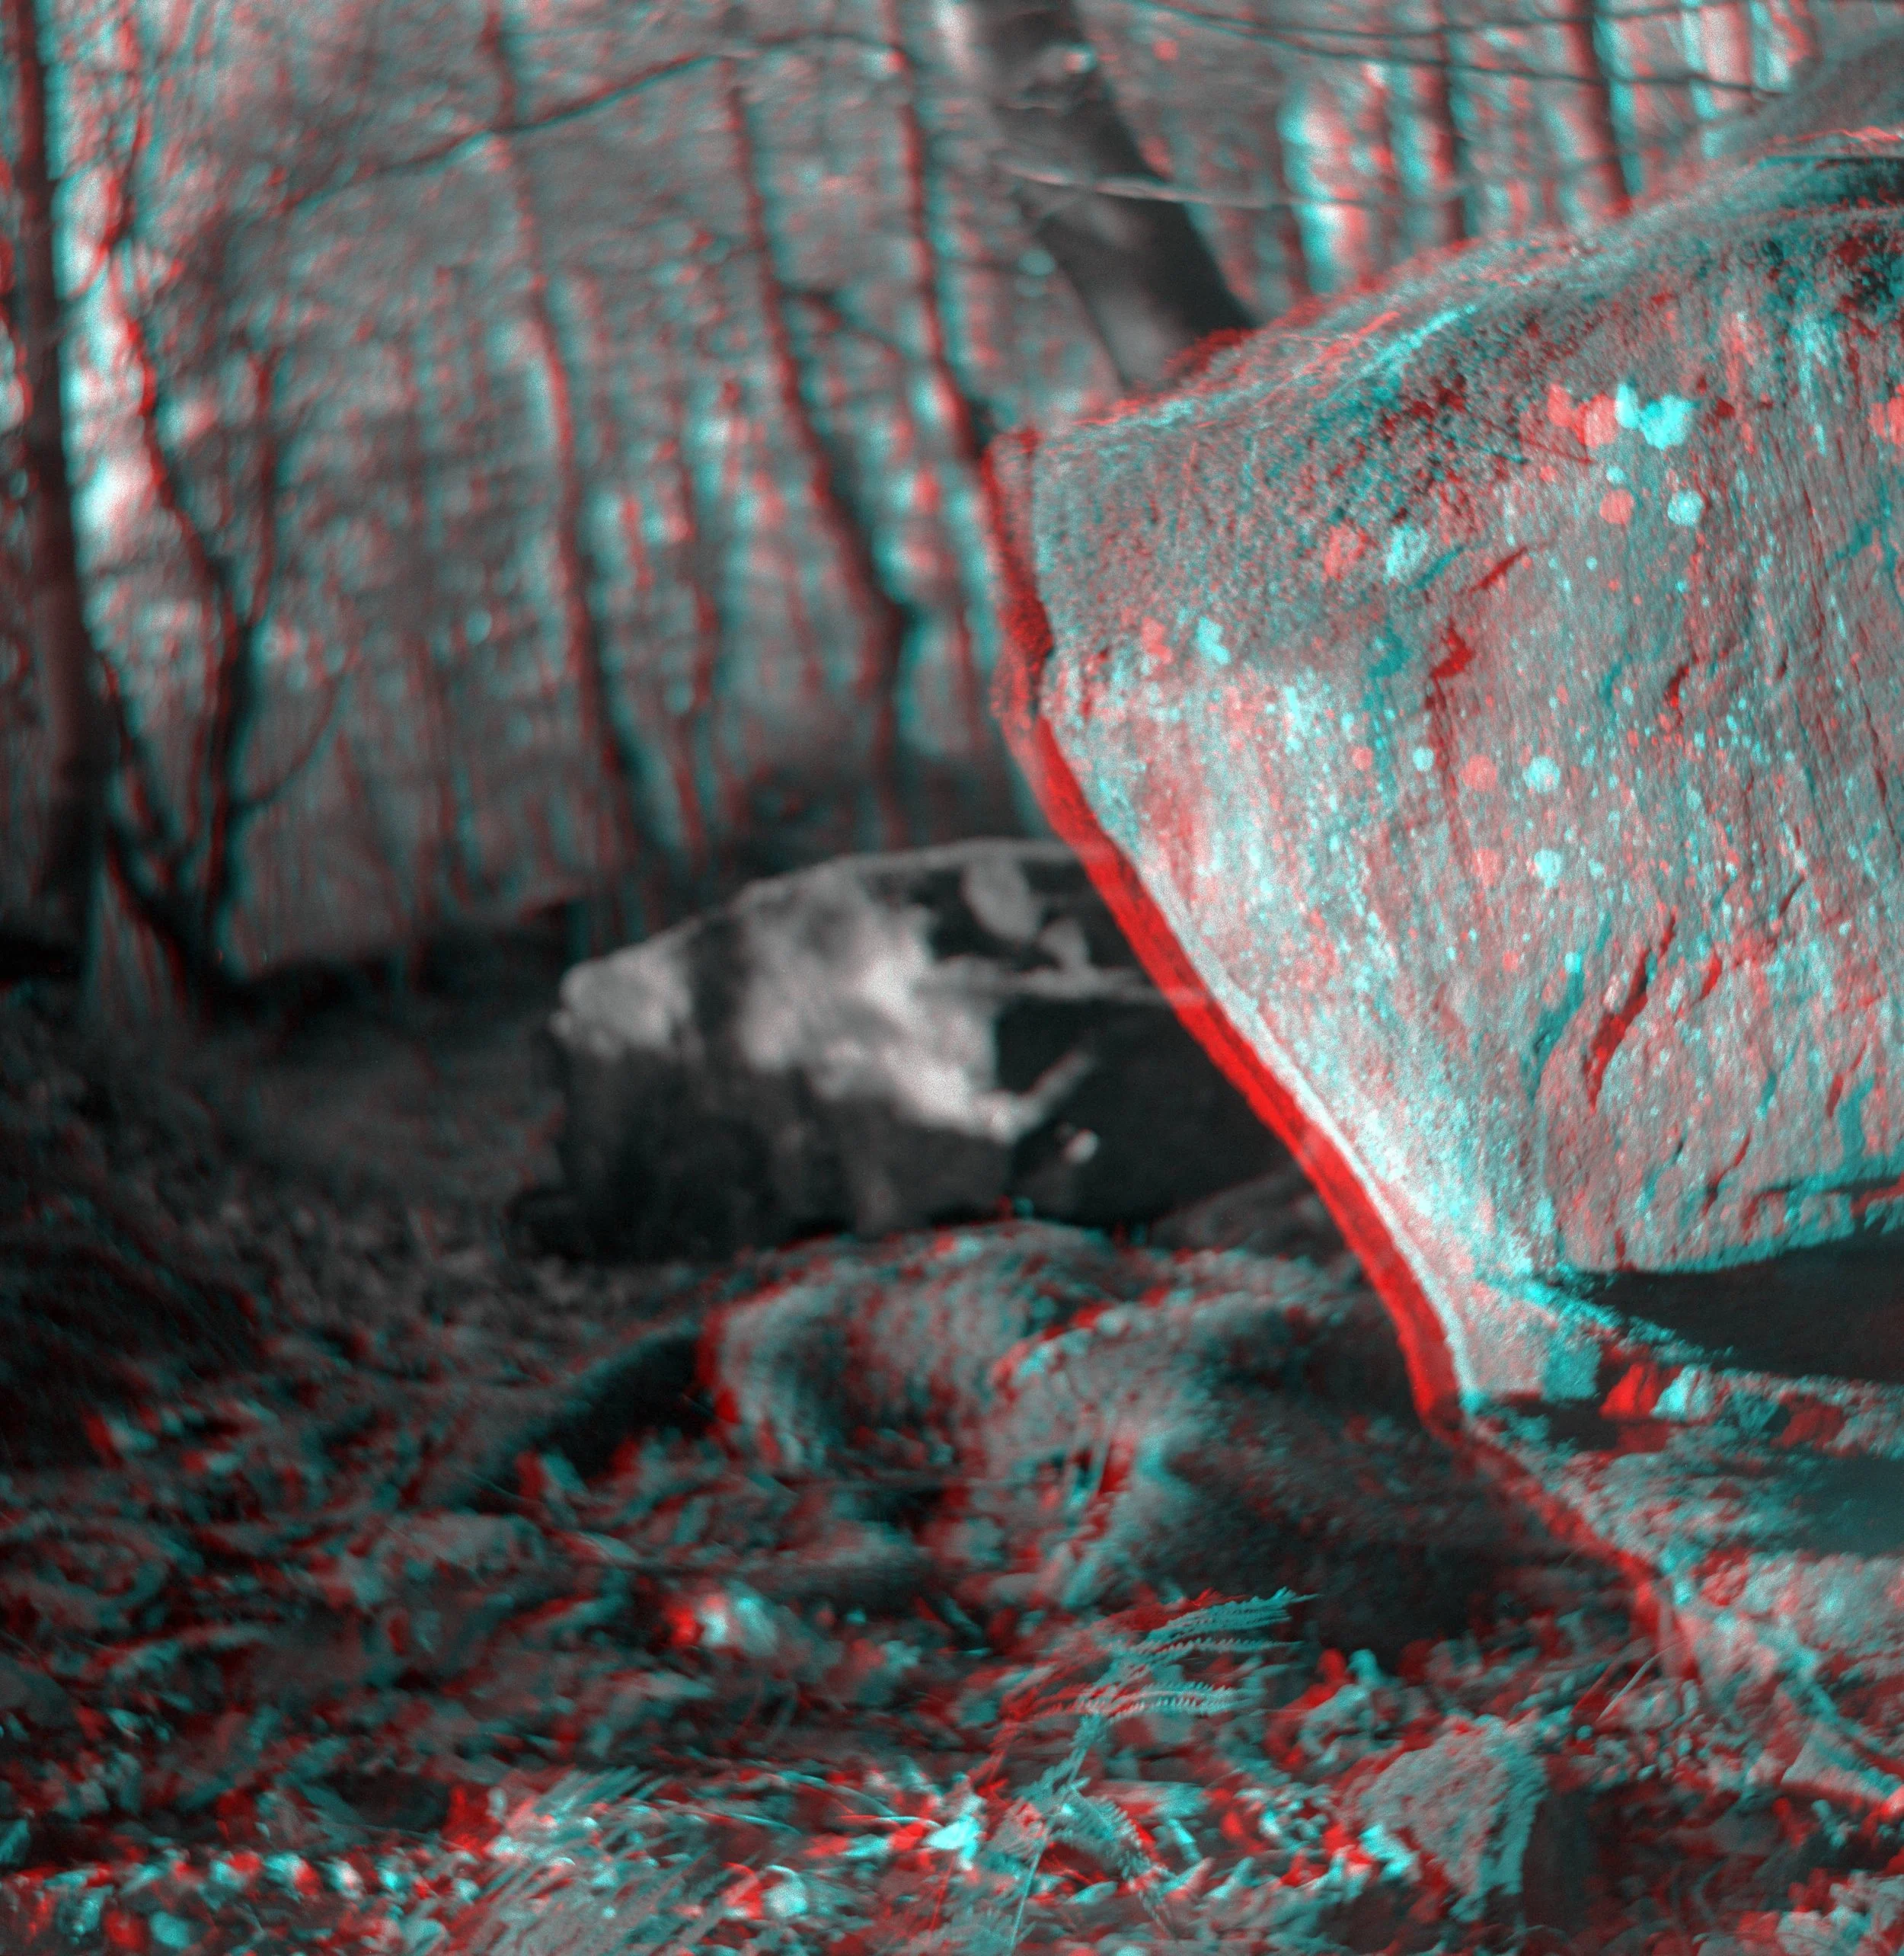
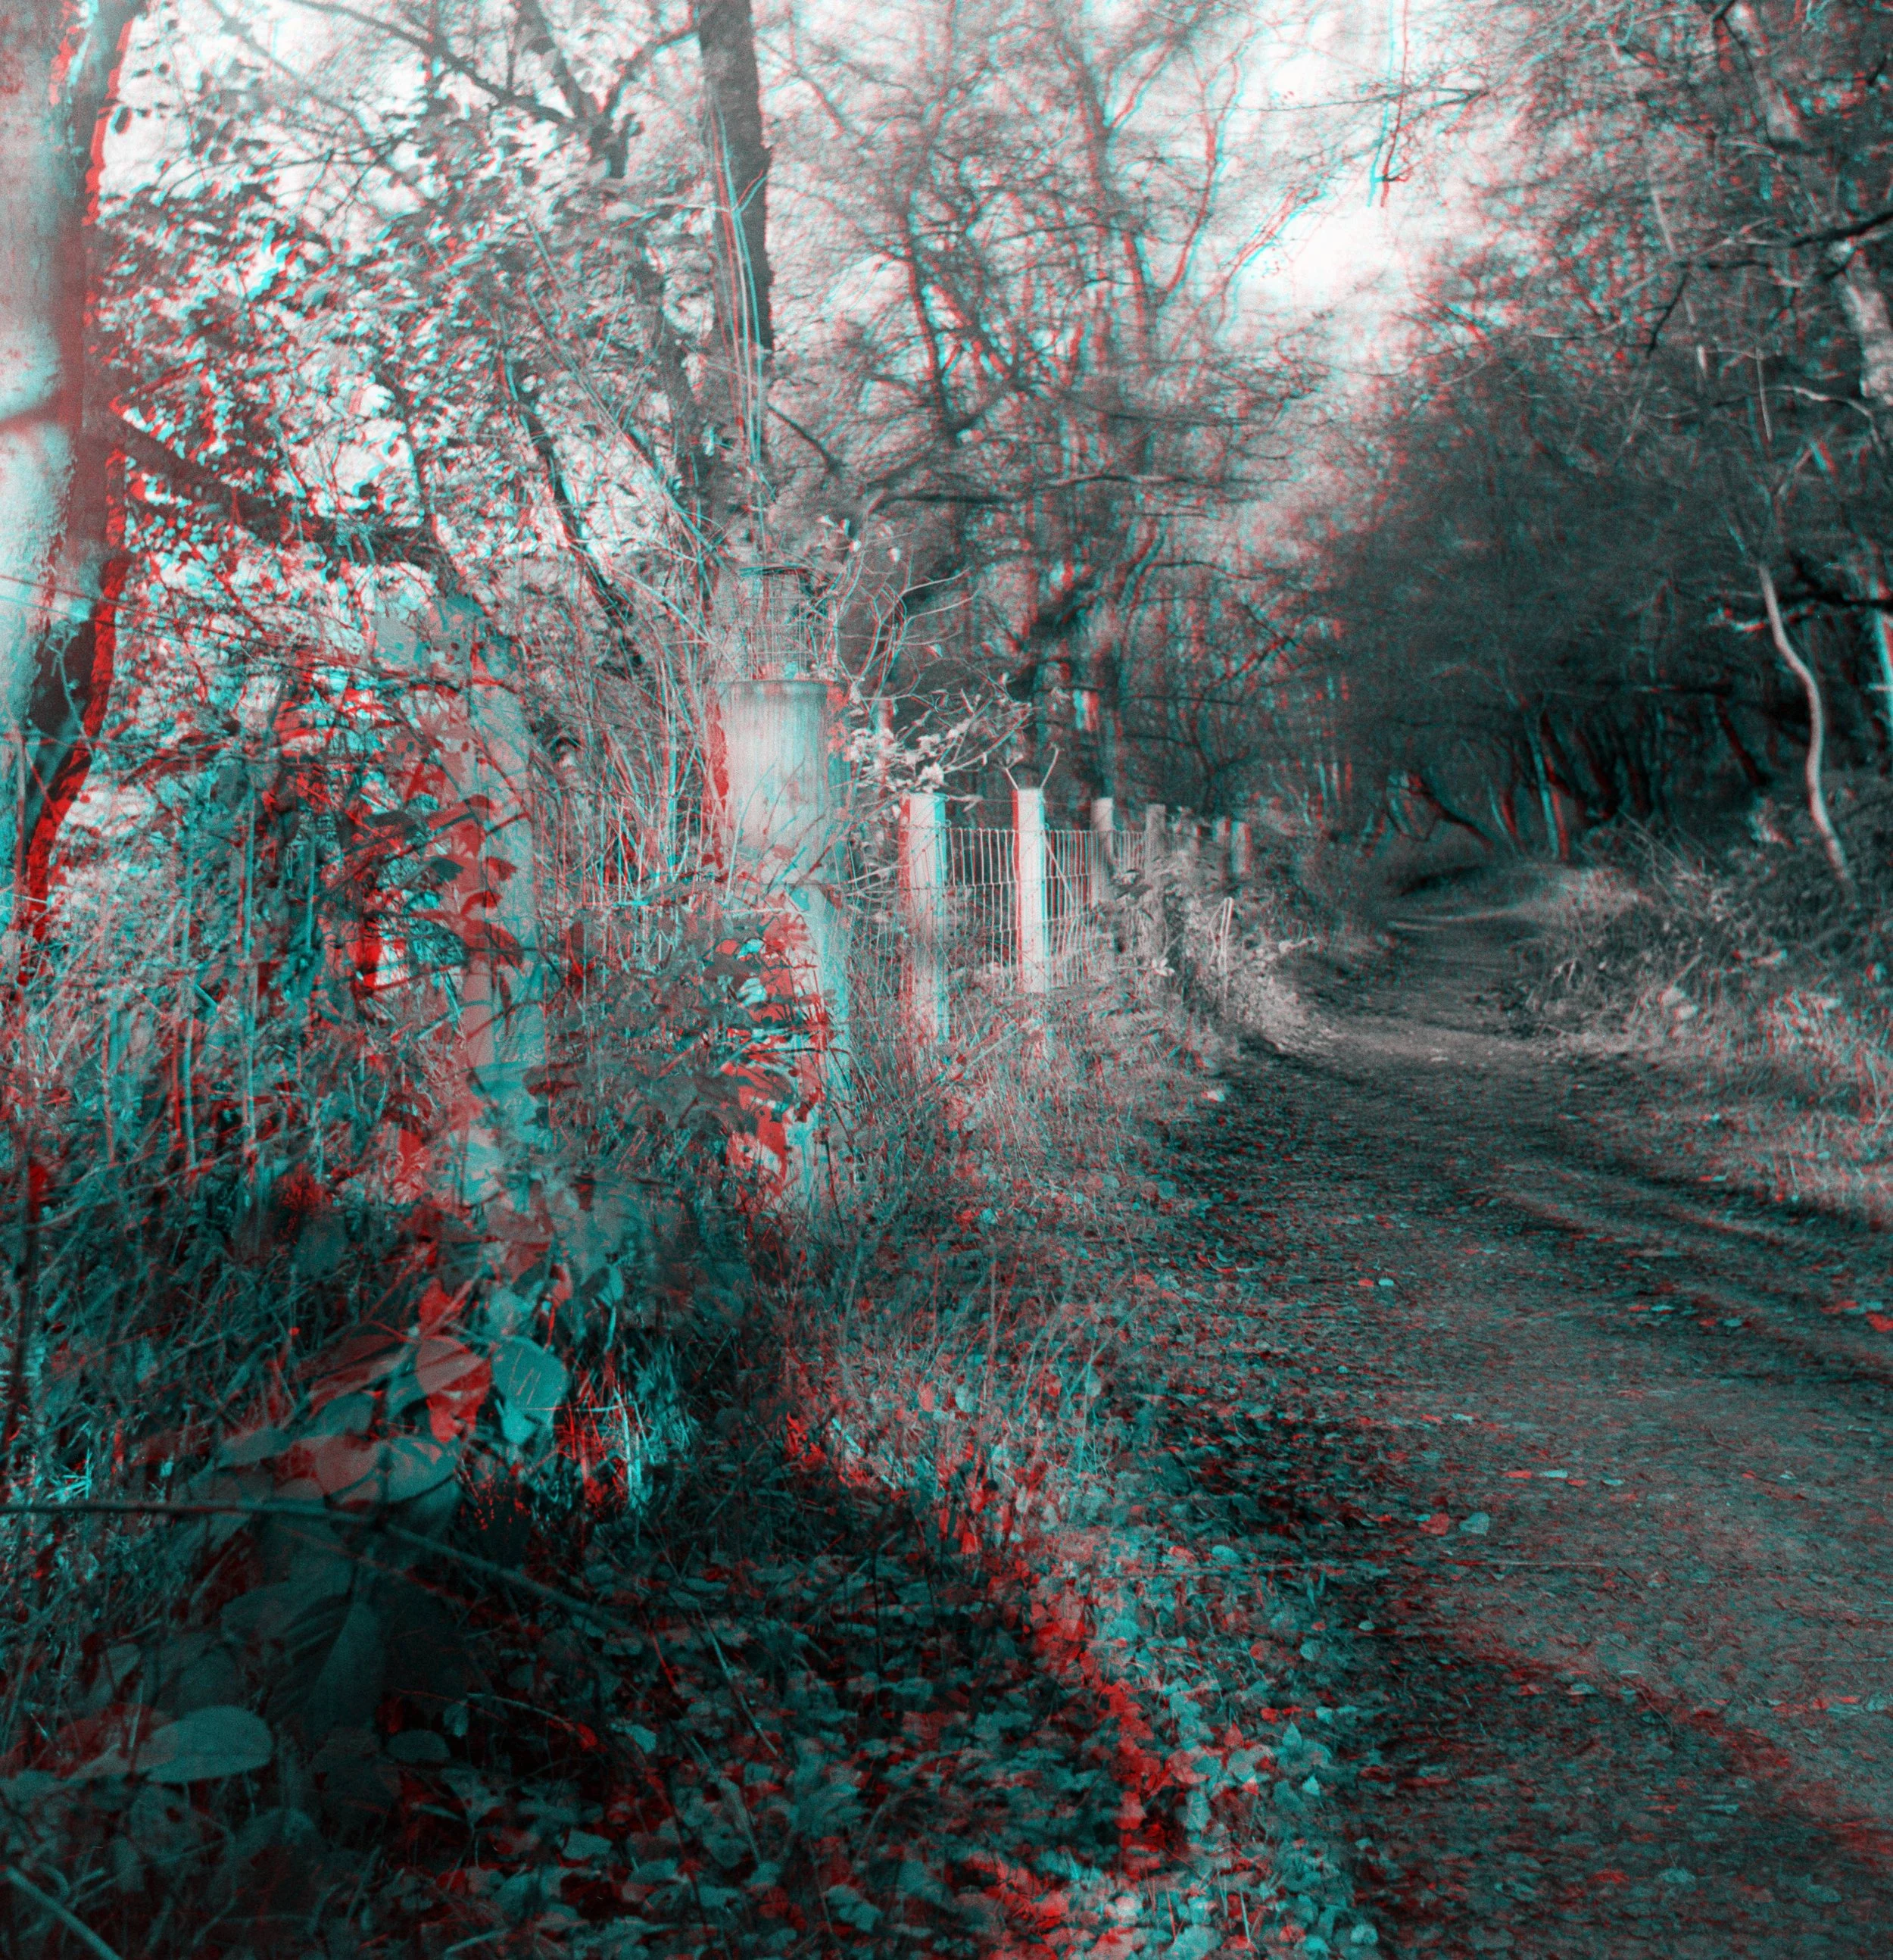
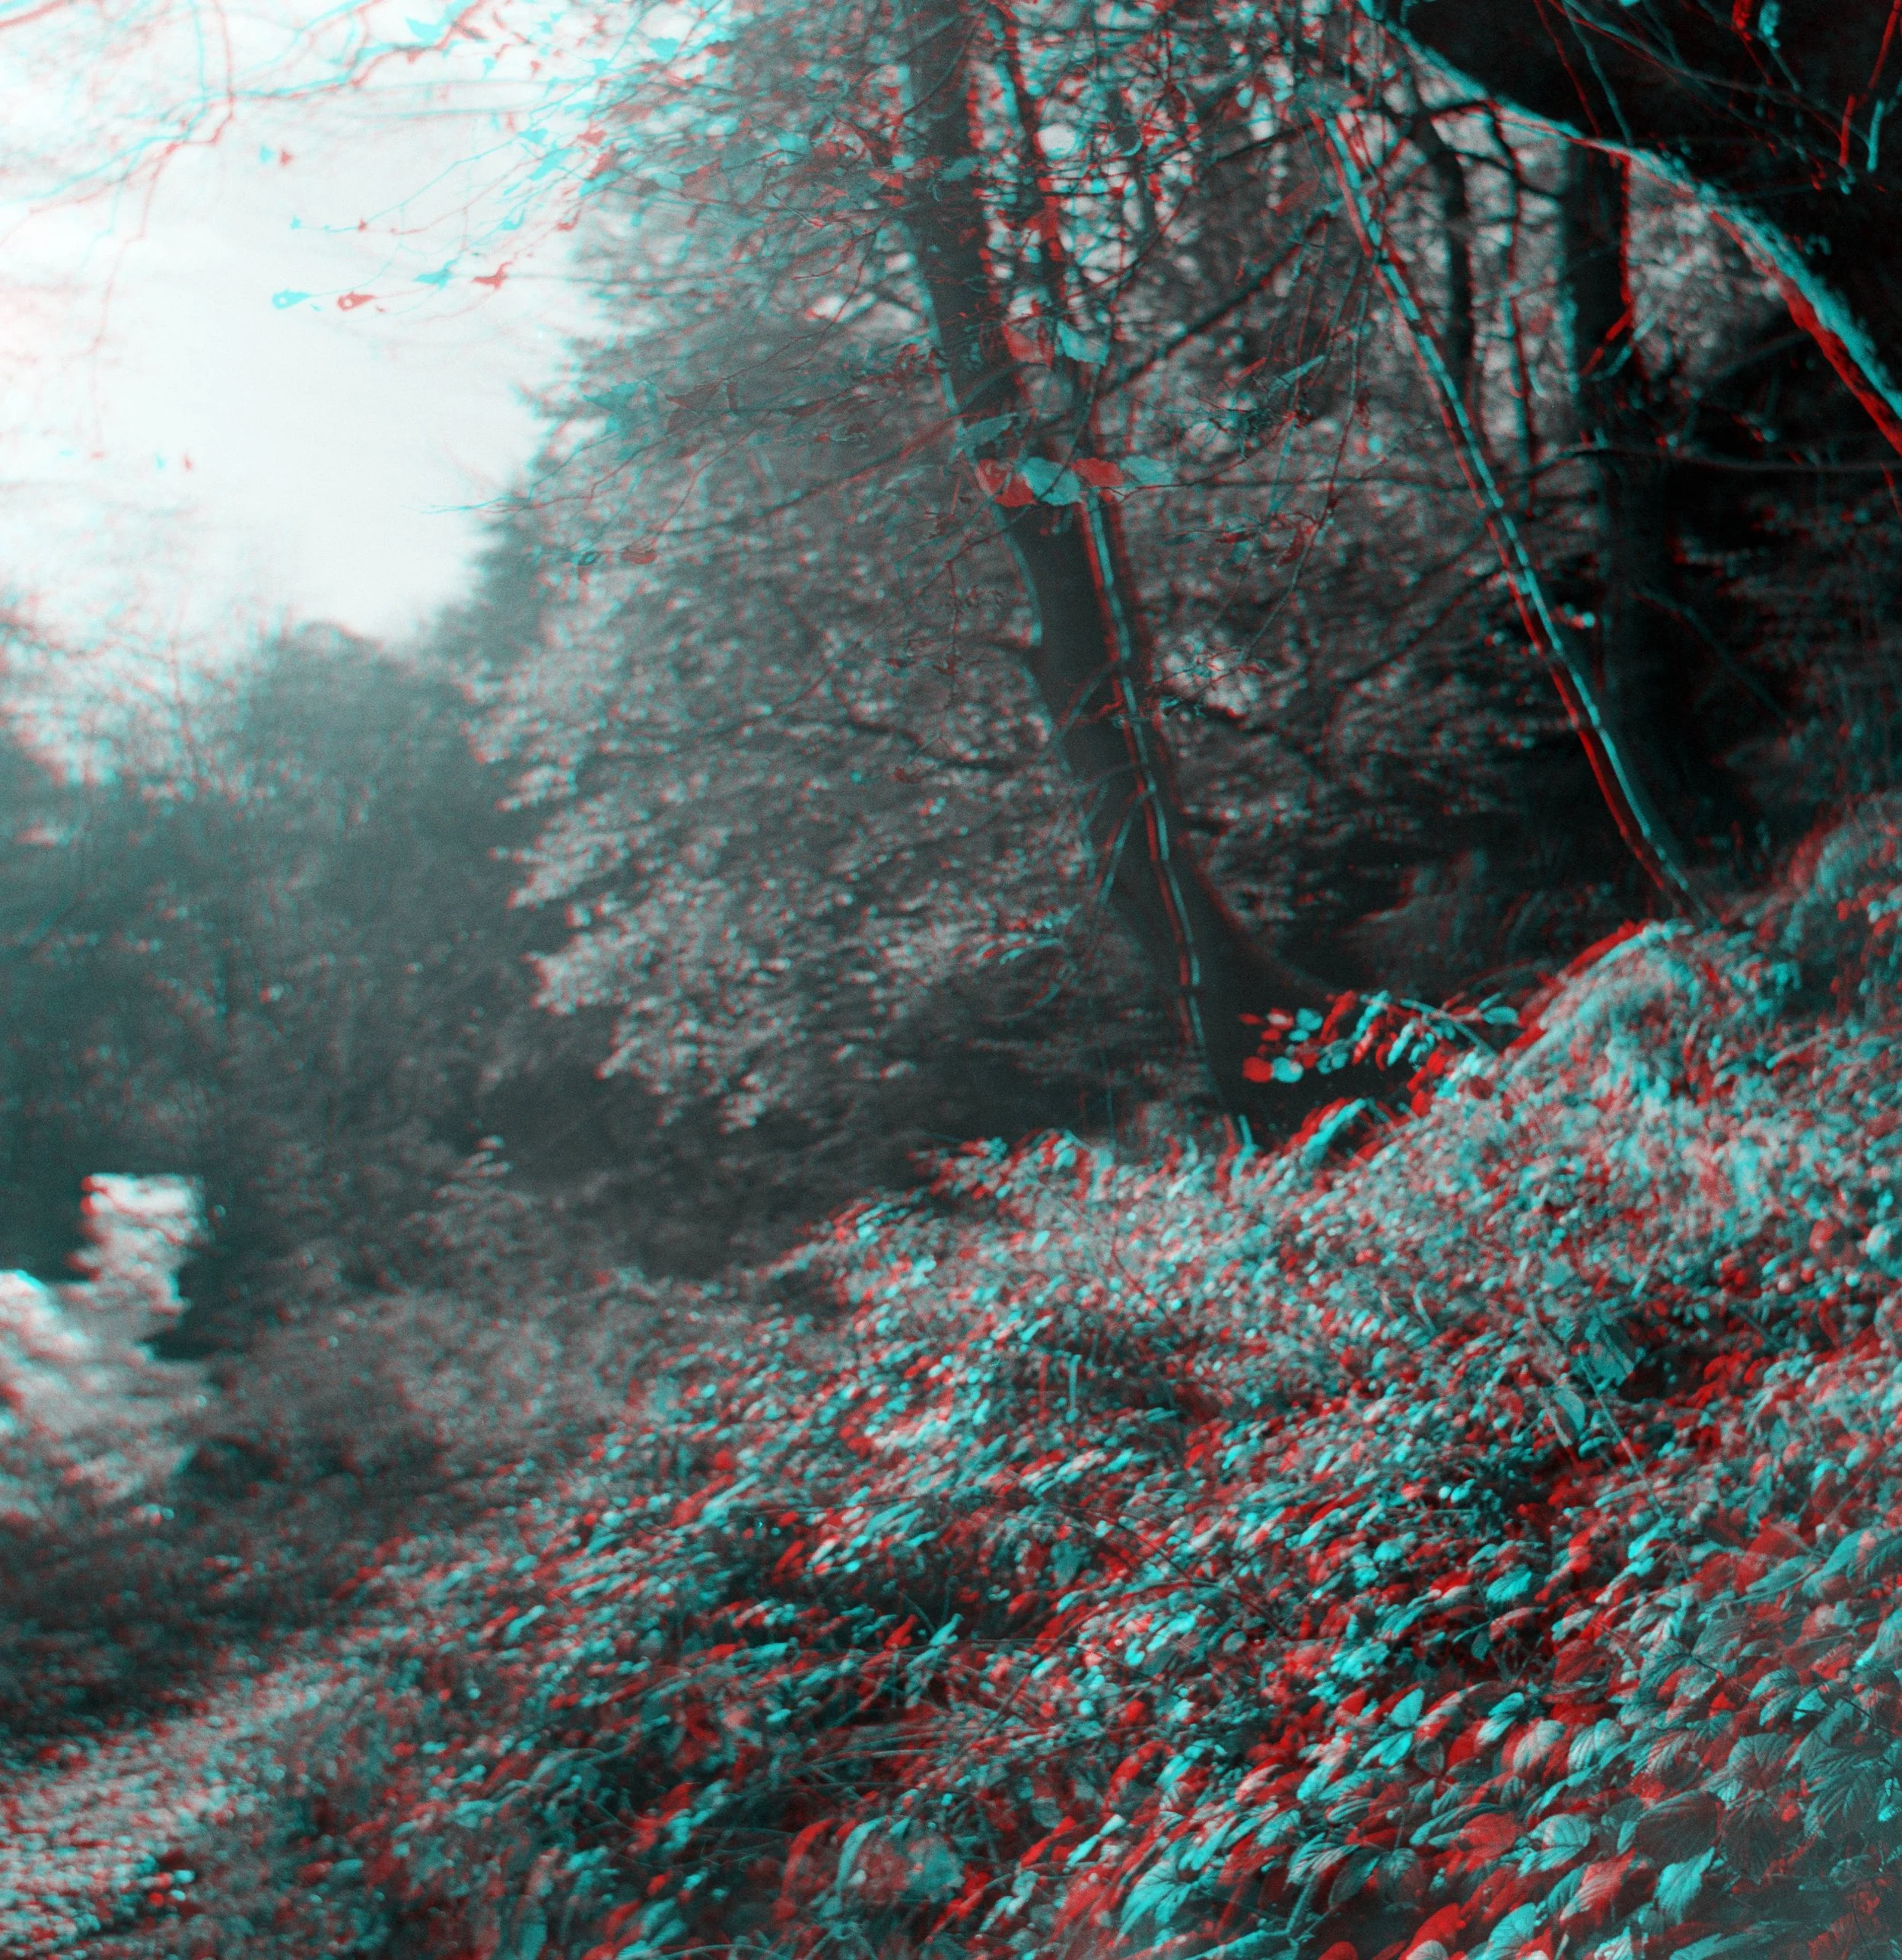
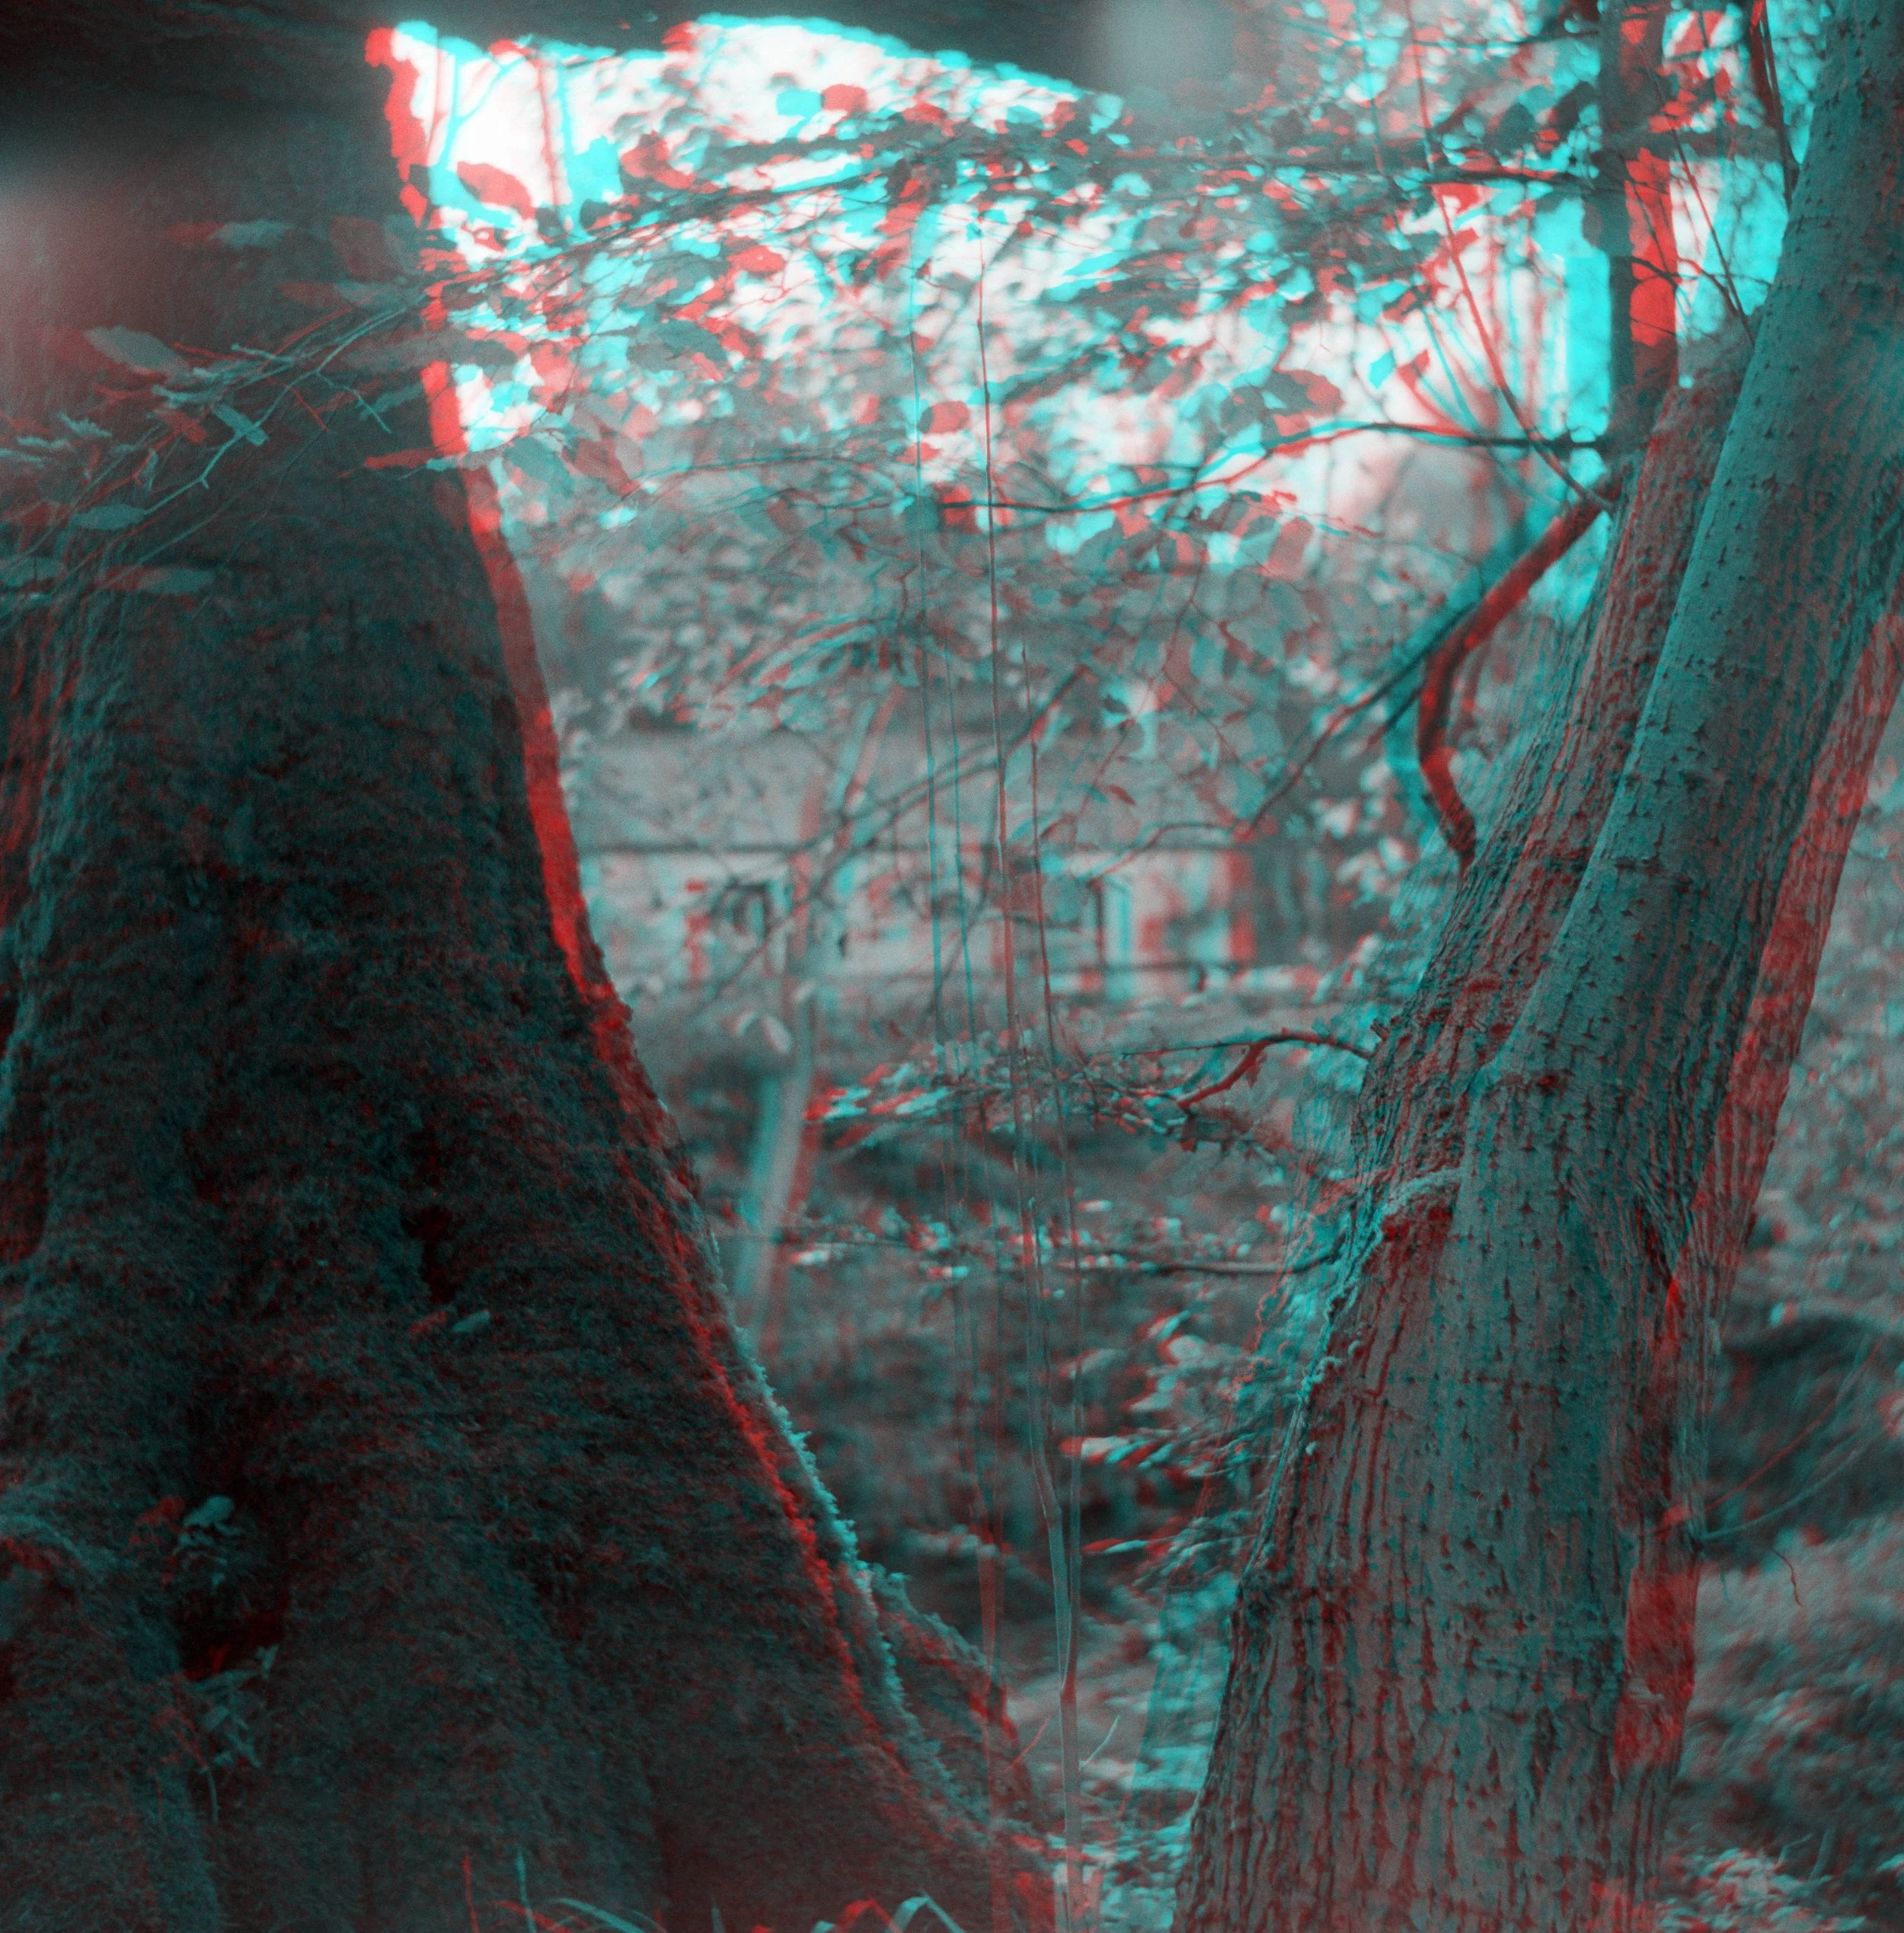
Outcome: 3
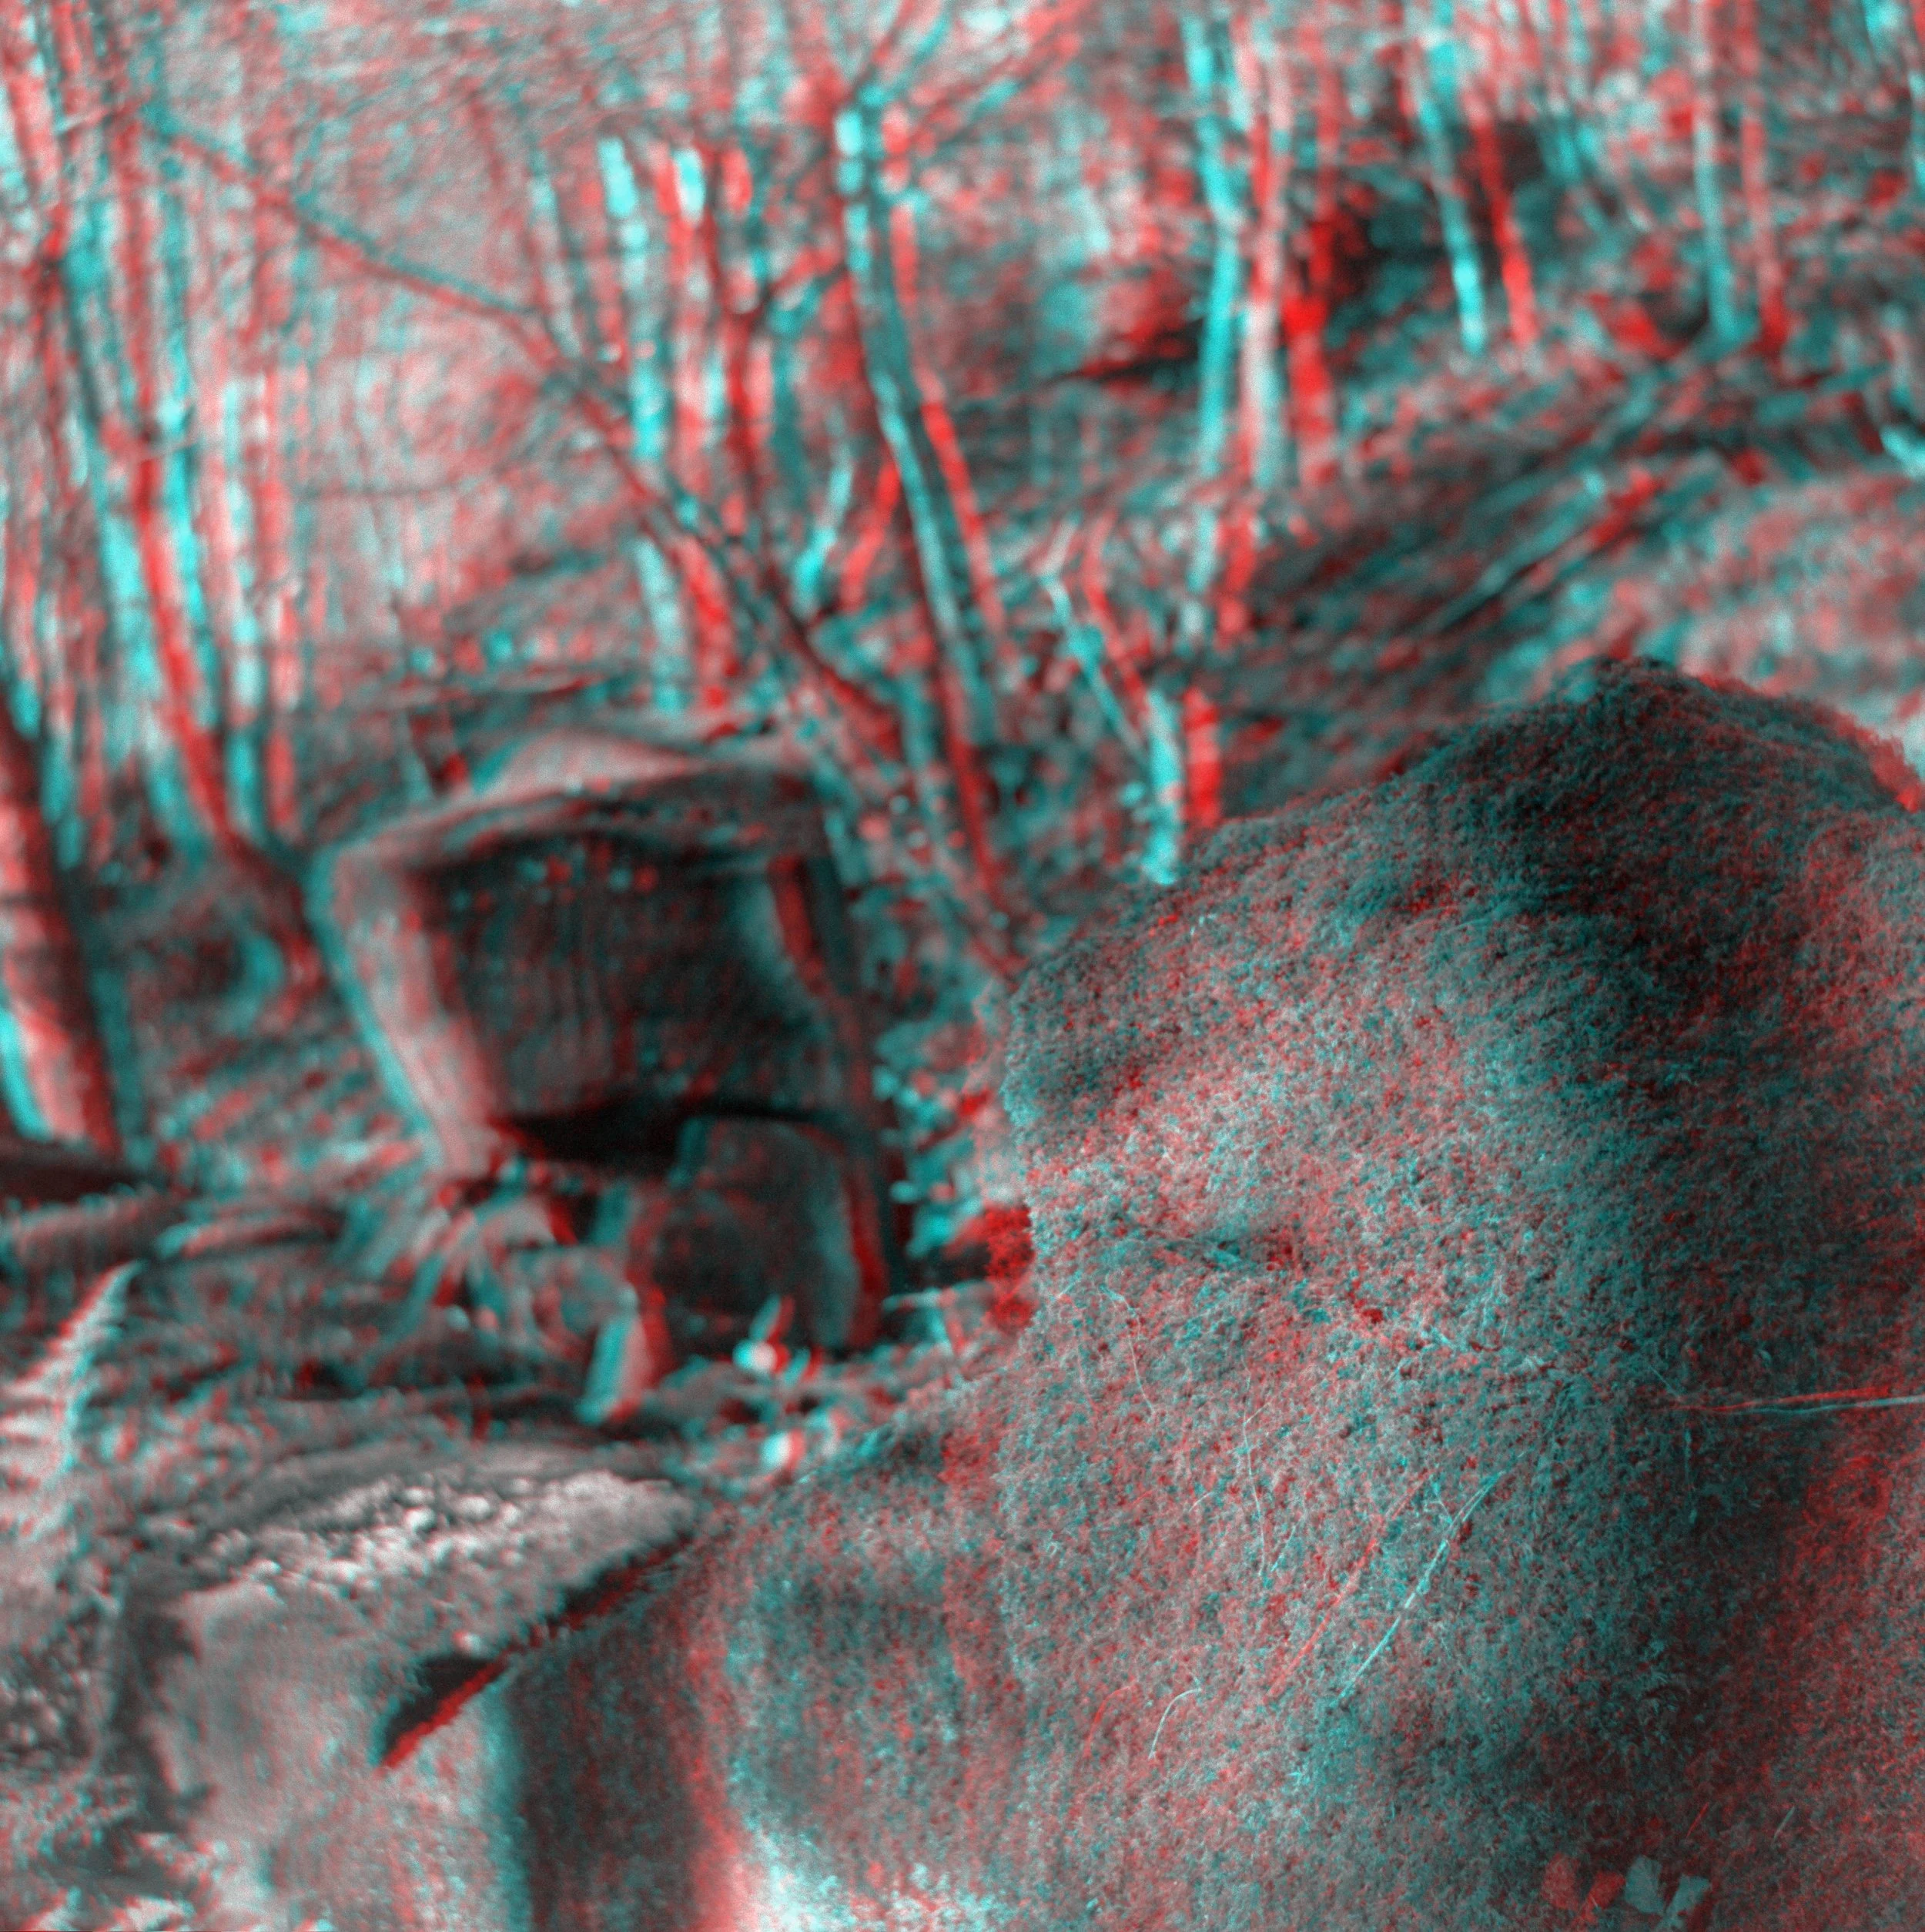
3D Rendered Scenes
Both of these previous methods to view these images are inaccessible to me as they require the use of two eyes.
Therefore, in addition to the side-by-side images and anaglyphs, I wanted a method with which I could view these images and their 3d effect. This led me to try creating animations and interactive images. First, I tried making 2 frame animations flipping between the left and right photos. This successfully demonstrated the difference in the images however I found it jarring to look at due to the speed at which you flipped between them and so I wanted to find something a little more effective.
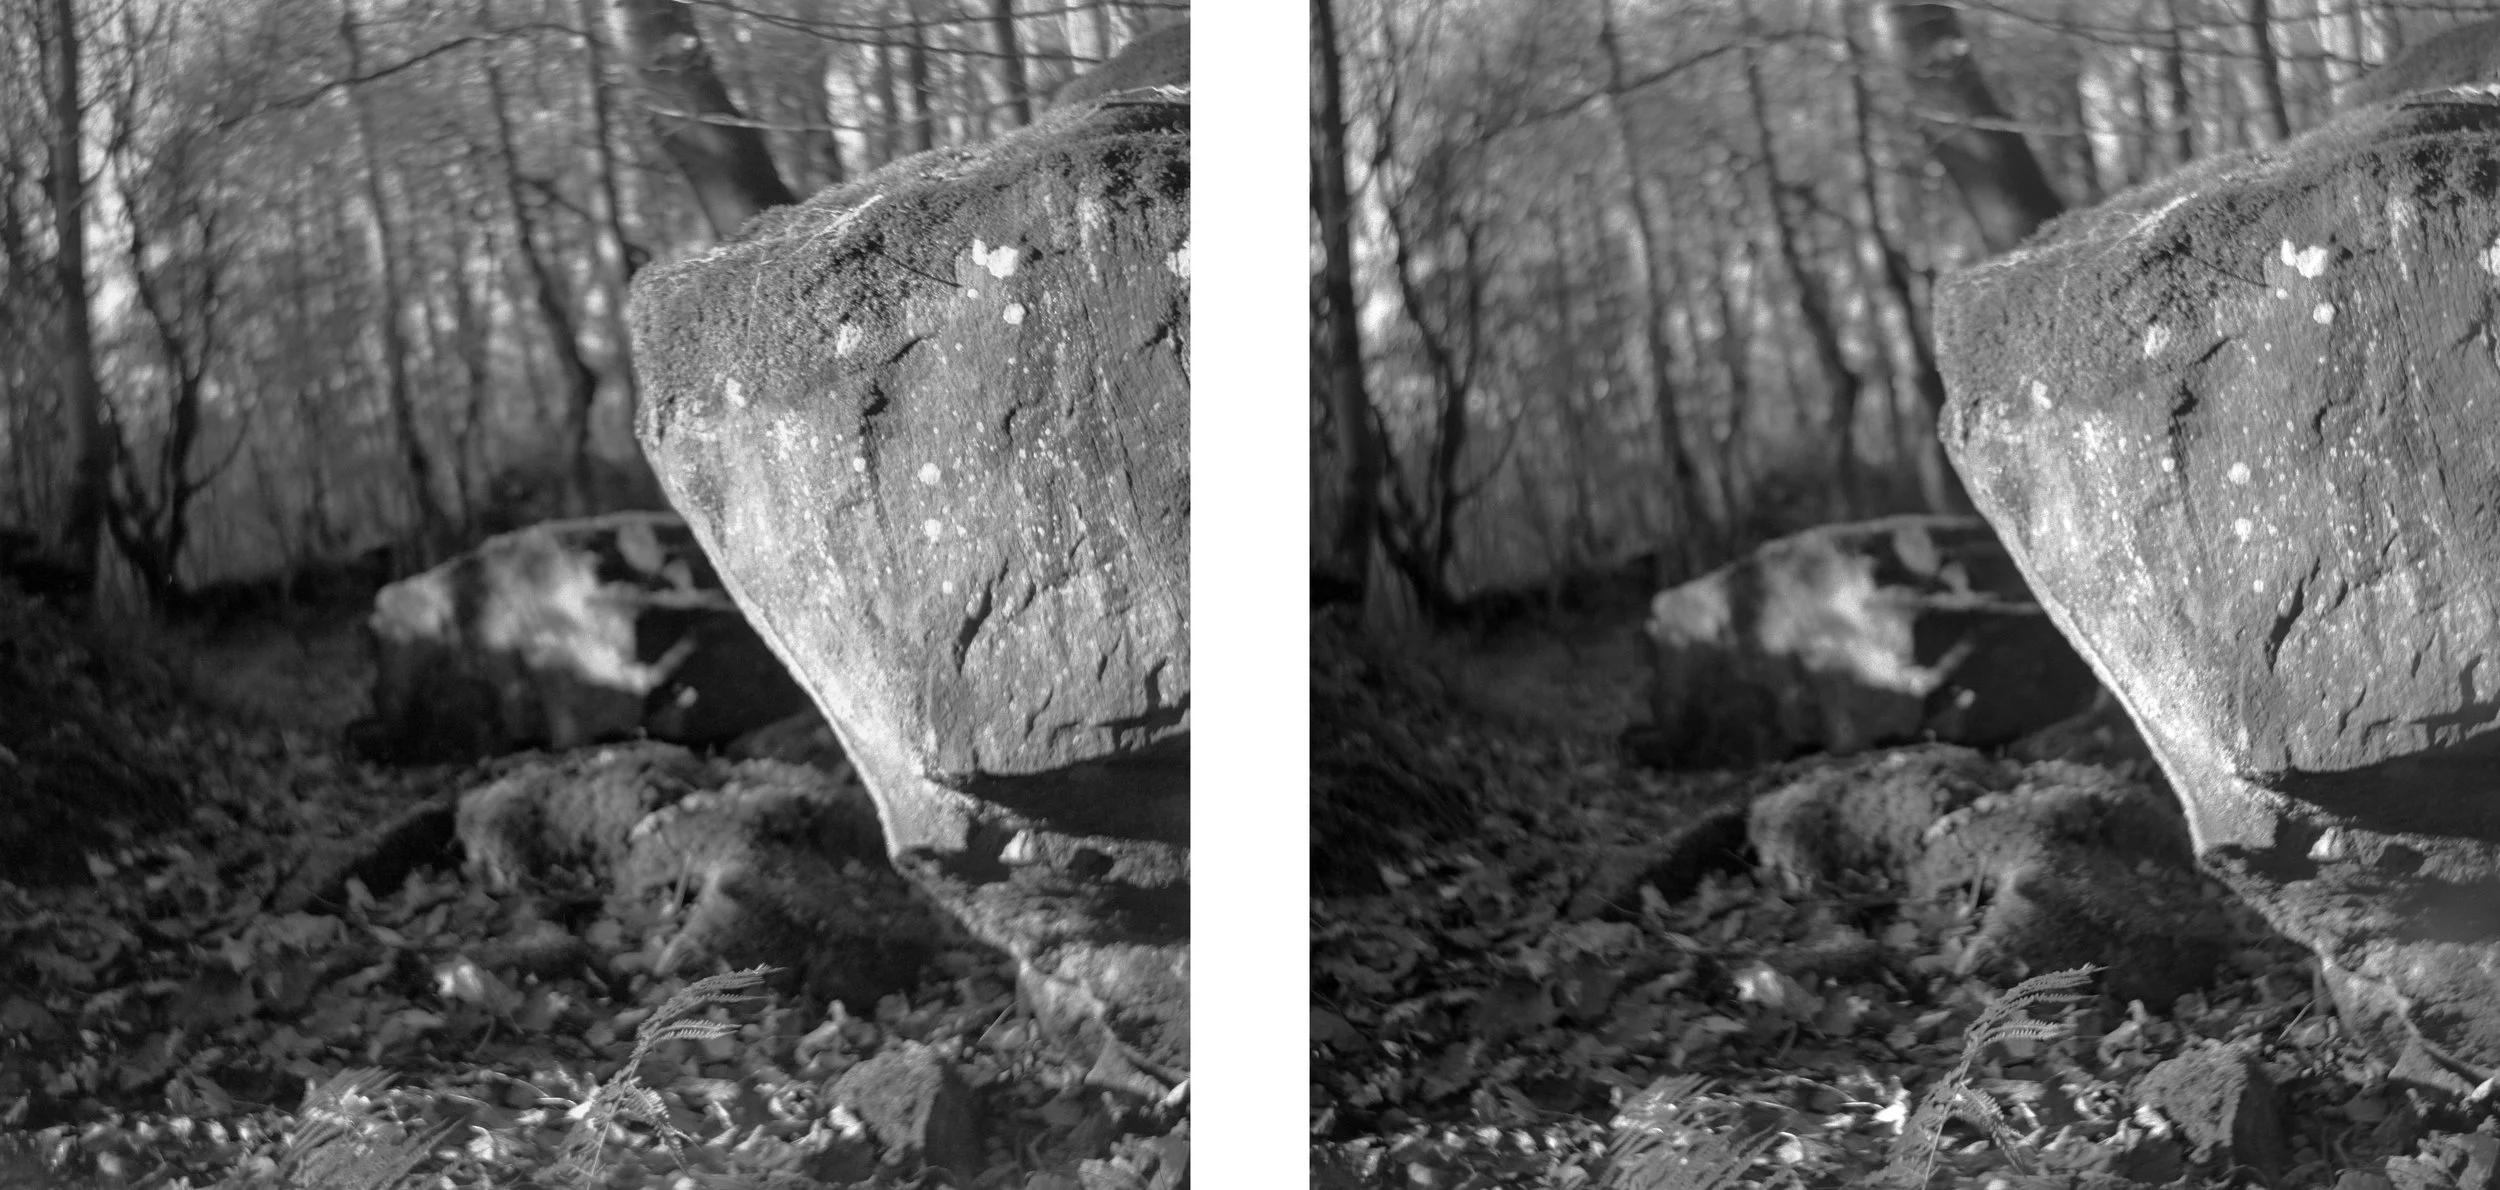
This led me to try creating a 3d depth mapped image that would be viewable via Facebook’s built in software. To do this I implemented some additional software, ‘Studio Photo Maker’. After a lot of trial and error I generated depth maps for some of my photos. I chose simpler photos with clear shapes in the foreground, this was because software couldn’t easily identify smaller or more complex details.
This worked however I still had to manipulate the depth maps in photoshop as to create a smoother image, especially on hard edges. I then took the edited depth map and original image over to Facebook which has a built-in software that can create a 3d image using these depth maps. None of the work was perfect due to the many imperfections in the depth mapping process, however the images depicting rocks in the foreground were the most effective due to the simpler subjects. These interactive images can be panned around using a mouse or phones gyroscope feature.